3D Art
Content: Environment, characters, animation, props
Skills: 3D modeling, digital sculpting, texturing, rigging, keyframe animation, nCloth simulation, XGen grooming, animation bp
Software: Unreal Engine, Maya, ZBrush, Substance Painter, Substance Designer, Houdini, Blender
3D Character
JING
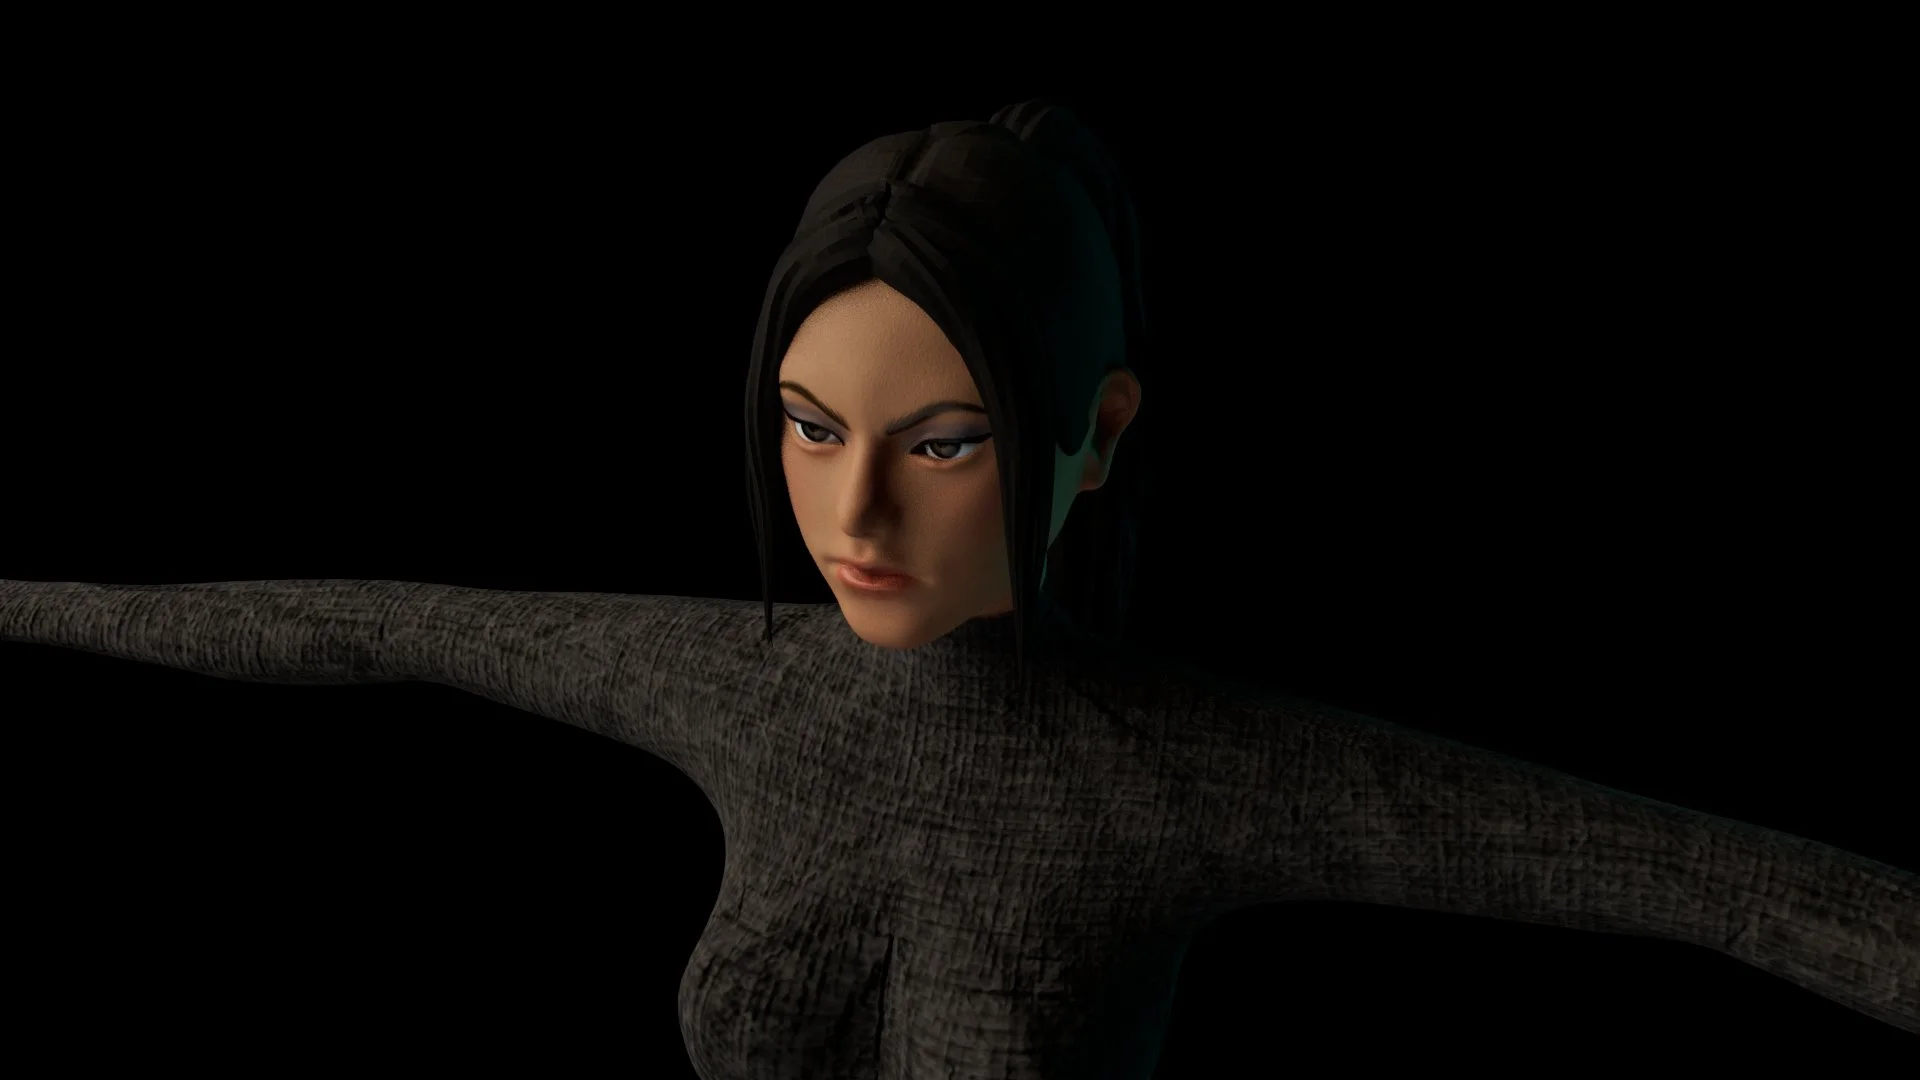
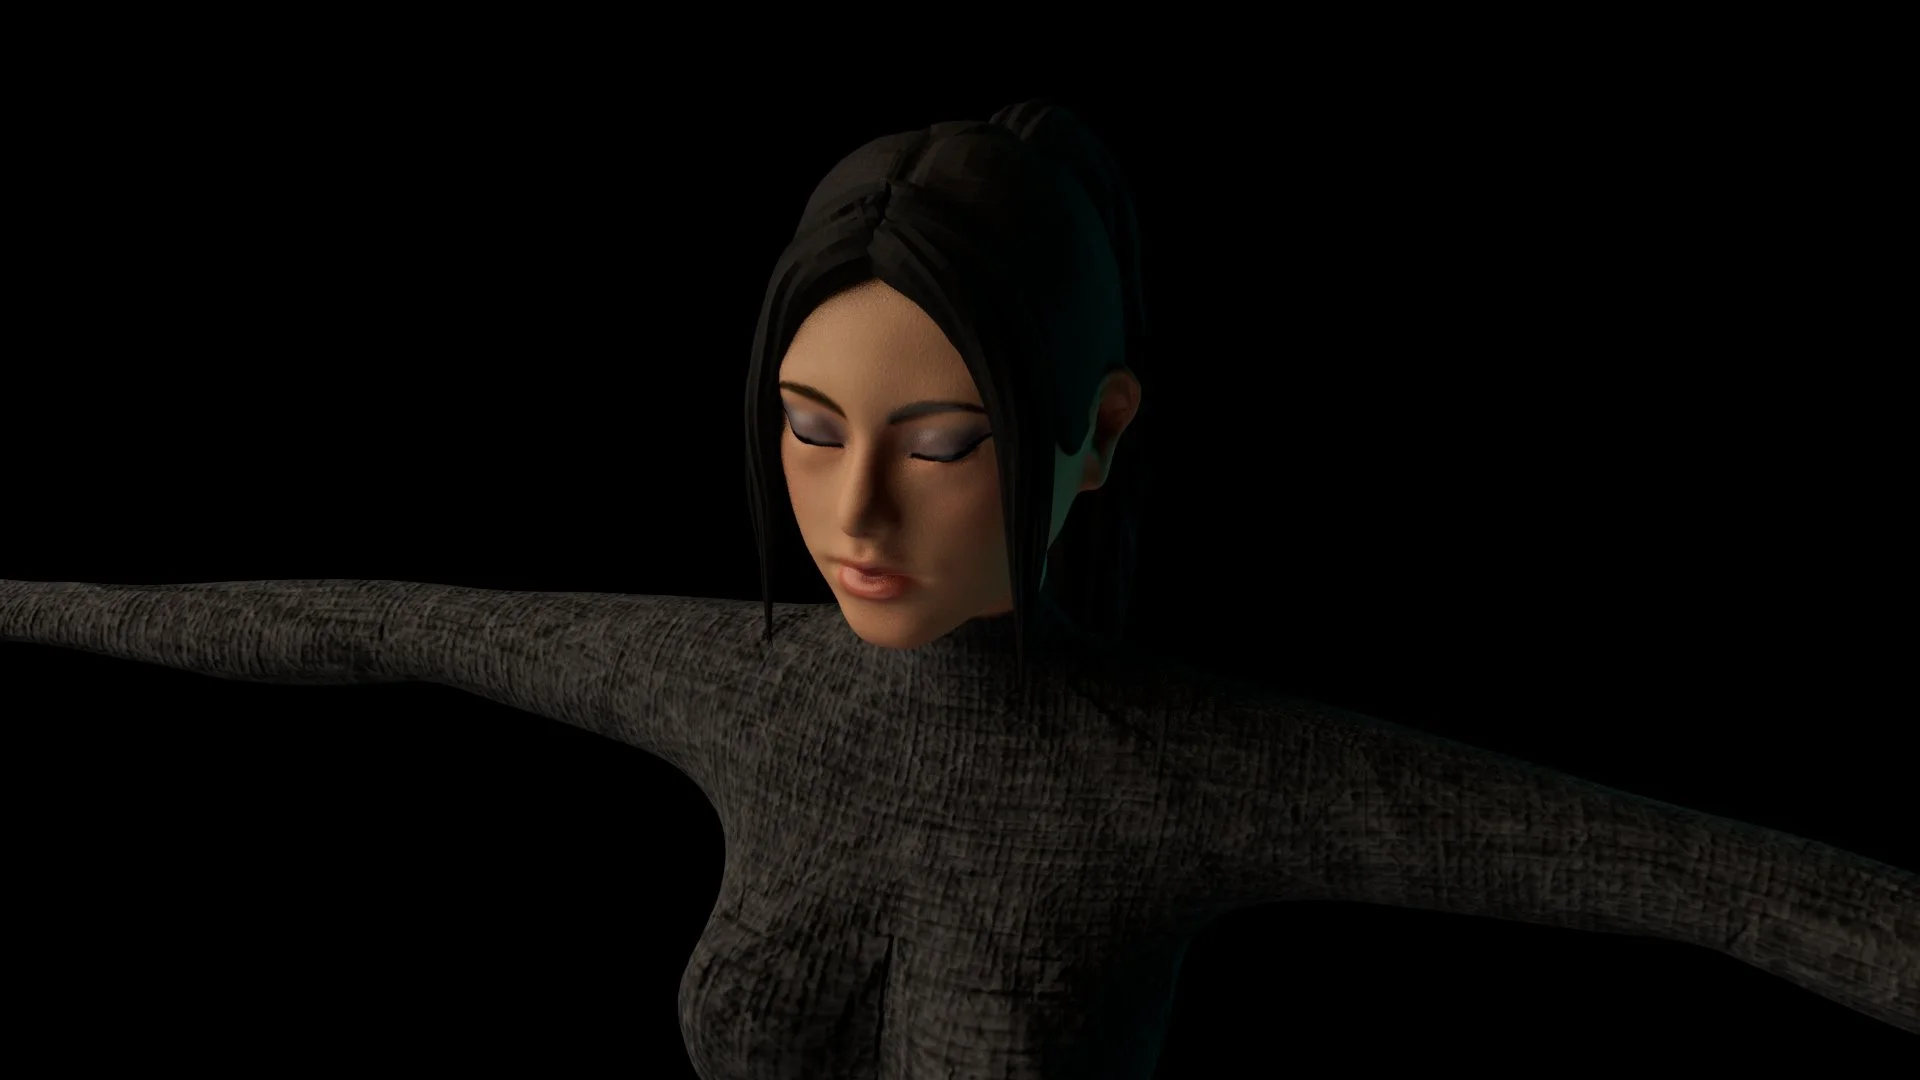
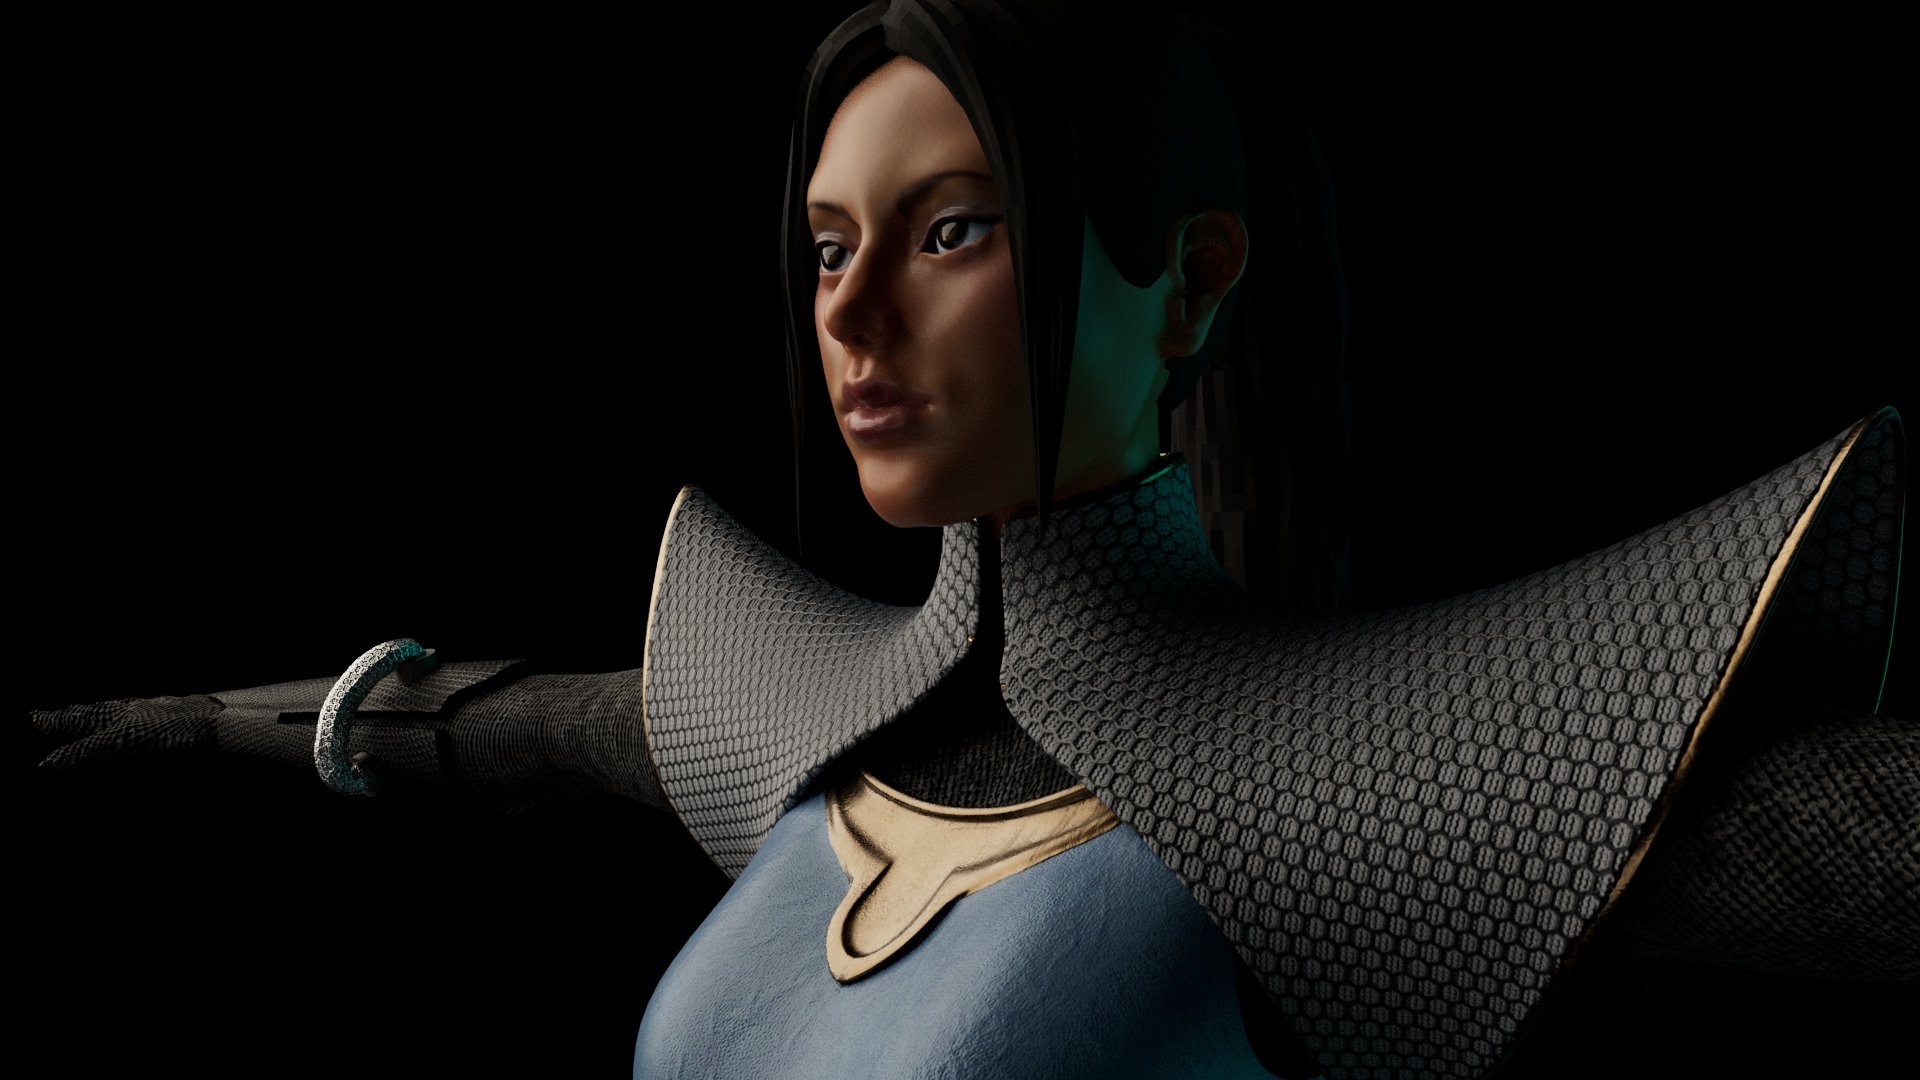
This is an individual assignment for the course Introduction to 3D Animation at Carnegie Mellon University, where students work through the whole production pipeline from character design to character modeling and animating. This is also the first time for me to use Maya, ZBrush, and Substance Painter.
Time spent: three months
Keyframe Animation
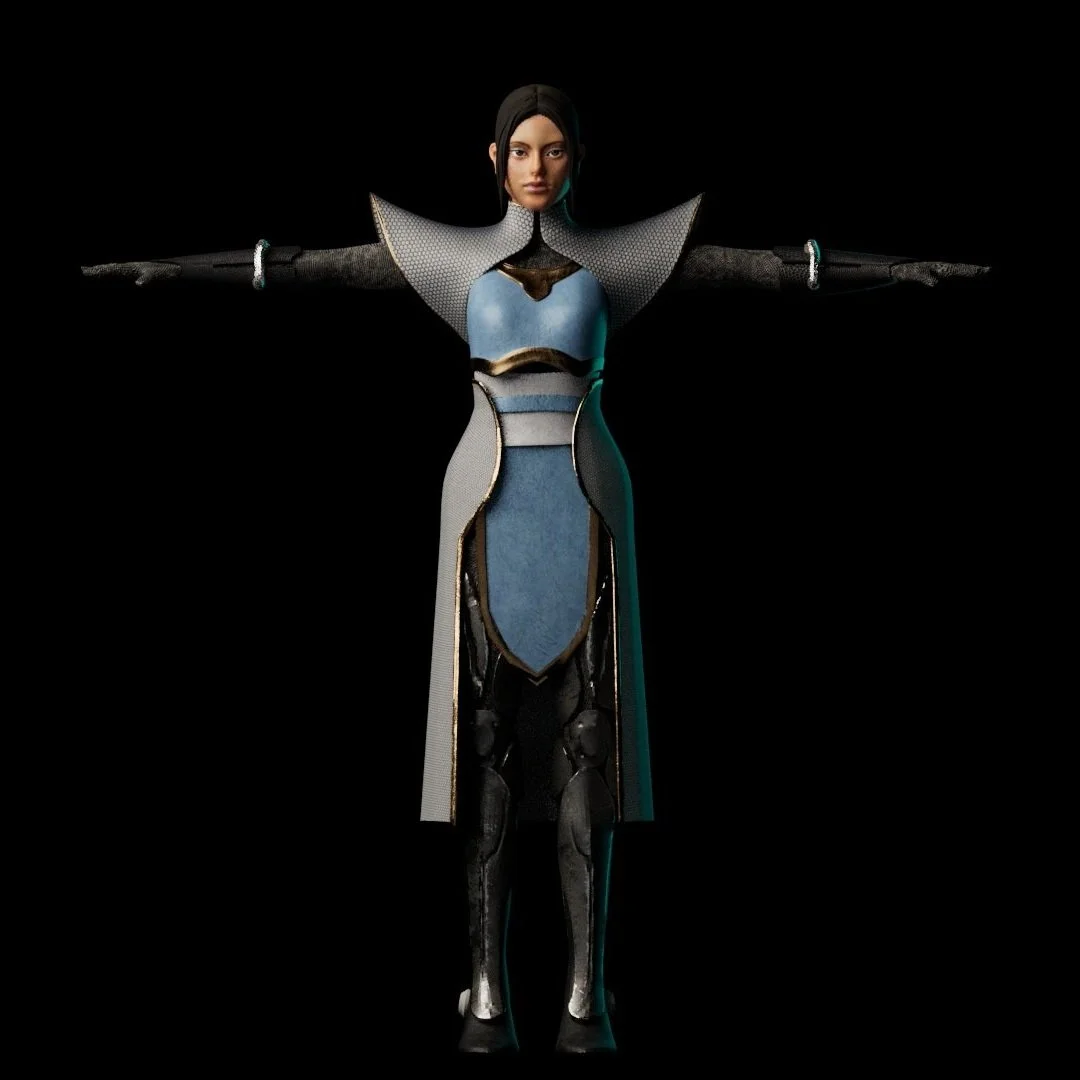
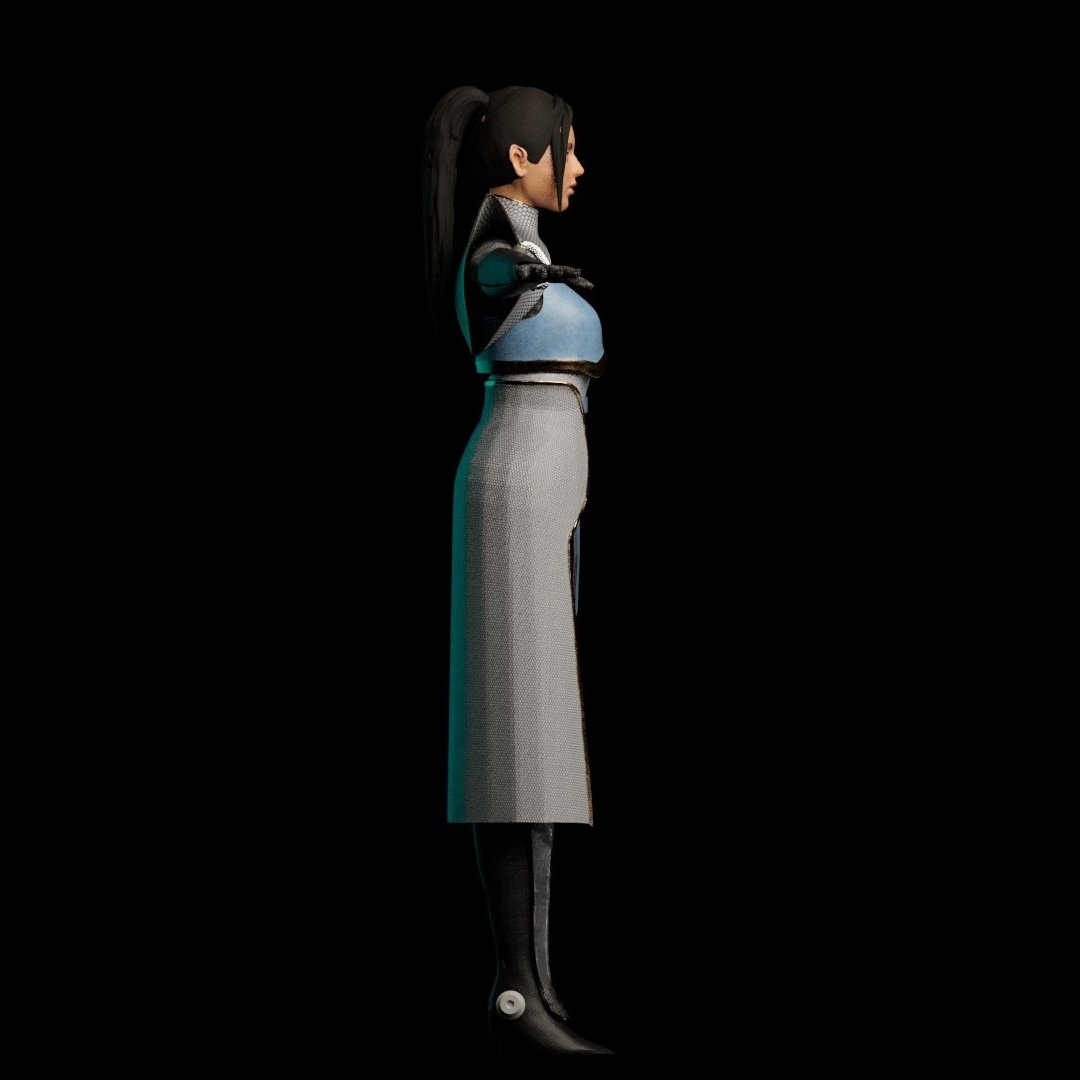
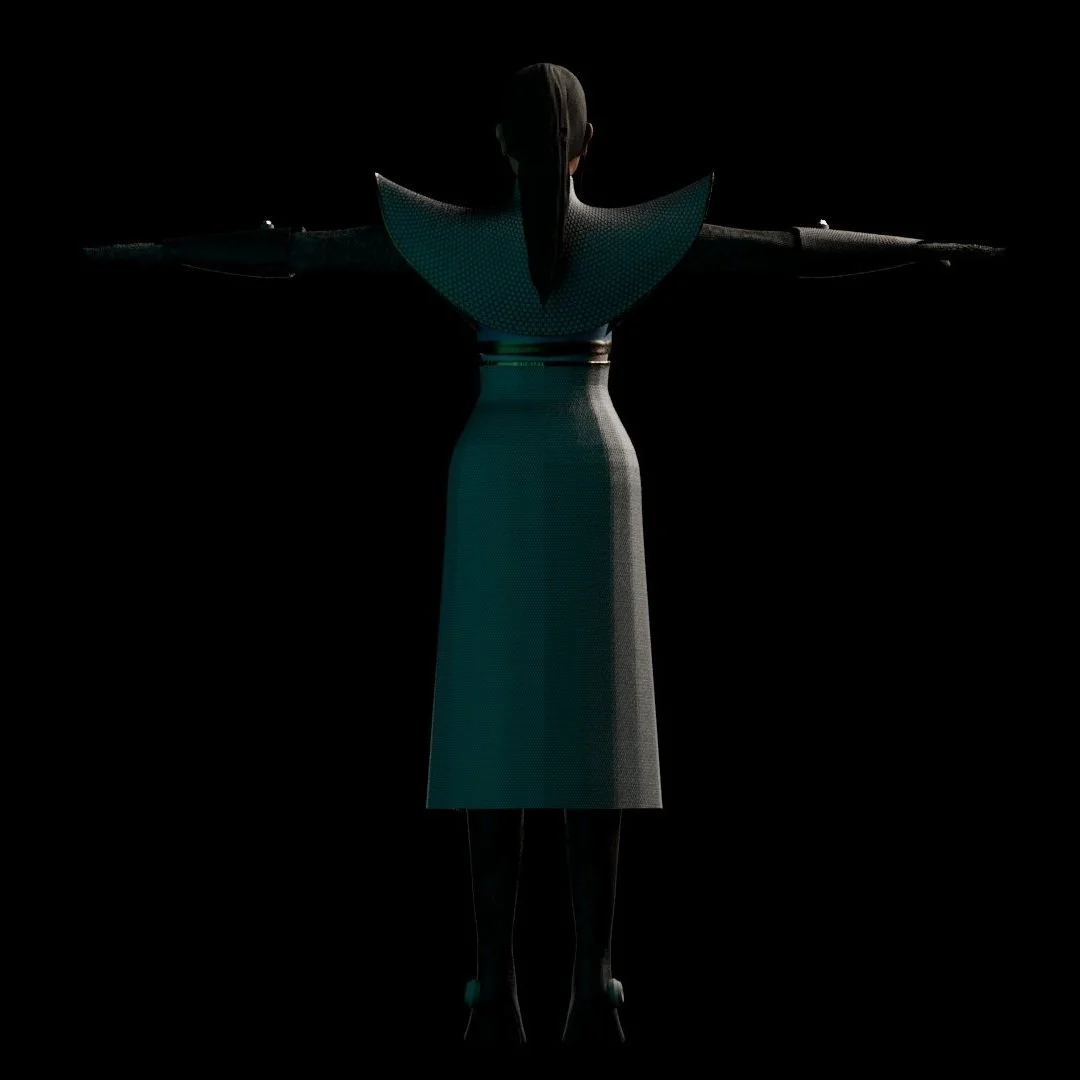
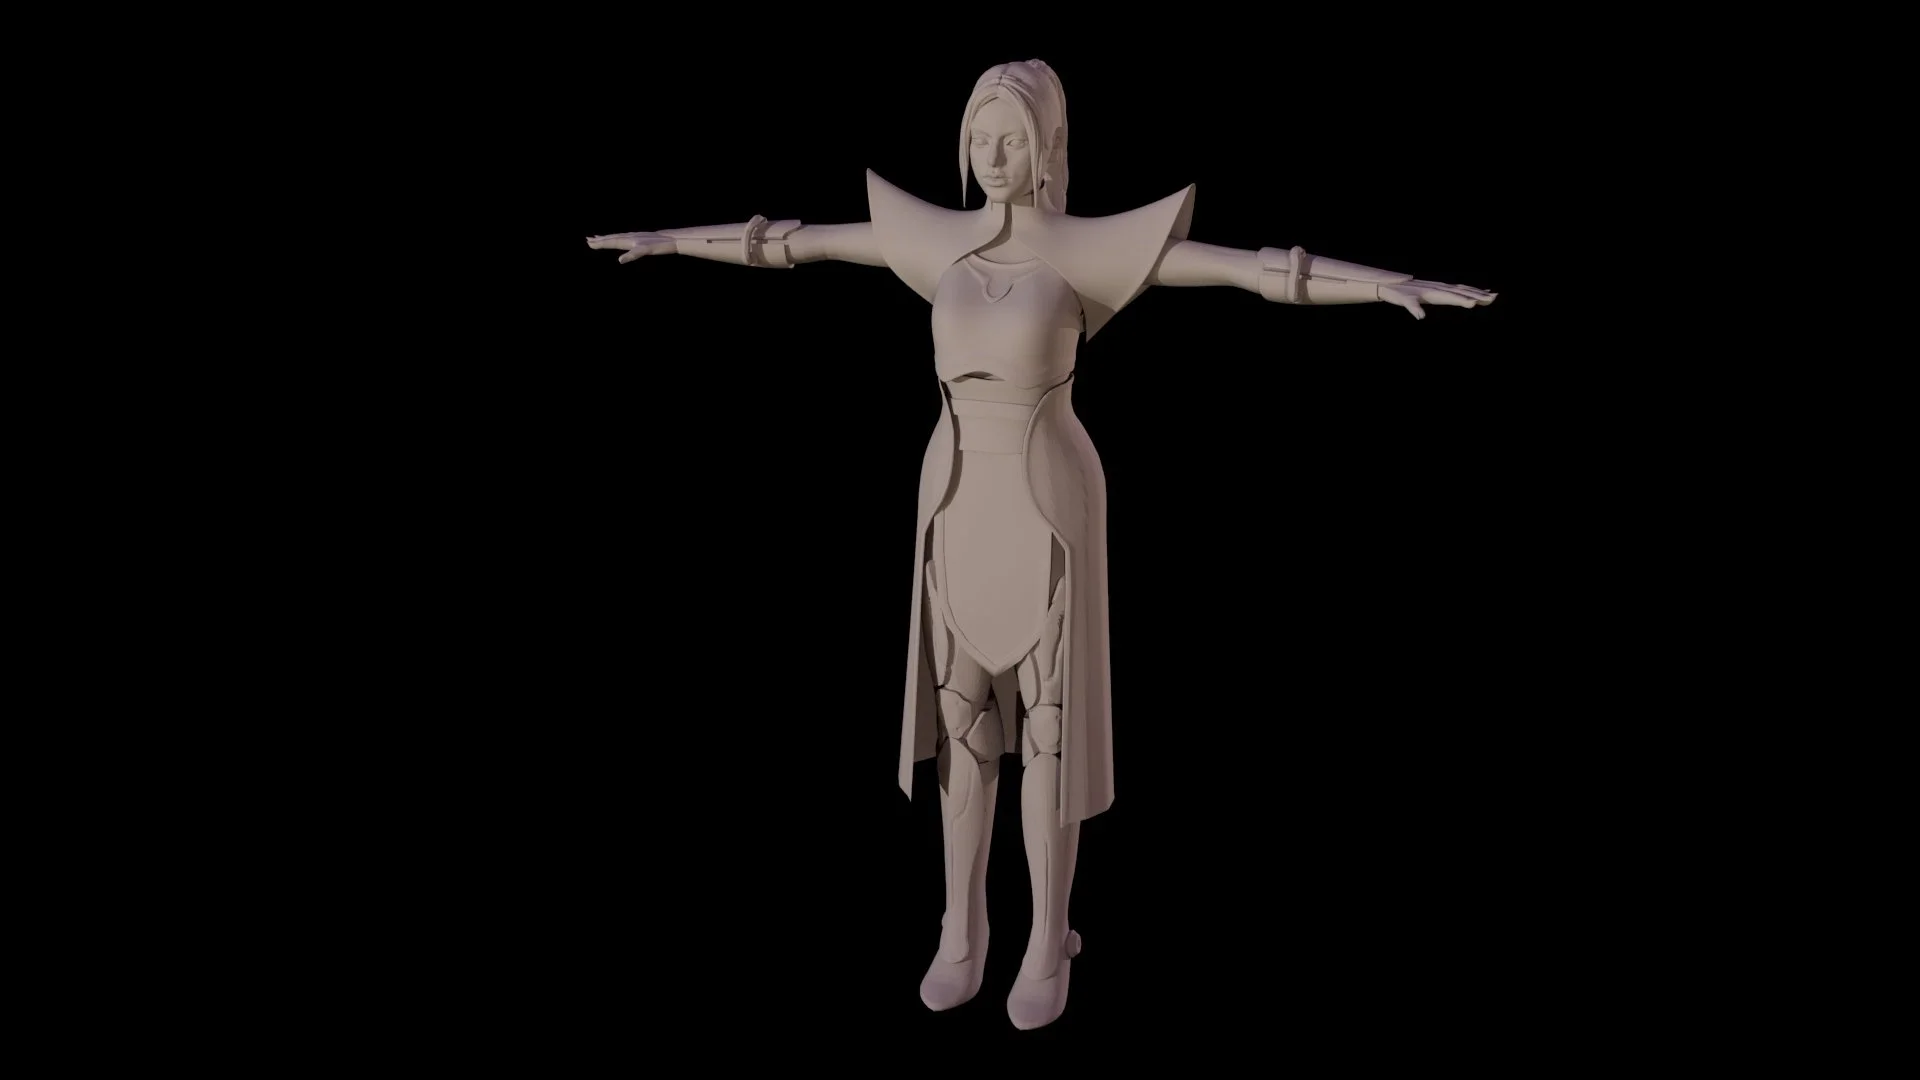
Three view
Design Idea:
Jing is a female assassin, who seamlessly blends traditional Chinese elegance with futuristic sci-fi elements in her apparel. Her attire is a fusion of ancient martial arts aesthetics and advanced technology, creating a visually striking and functional ensemble that reflects her lethal skills.
Basic workflow:
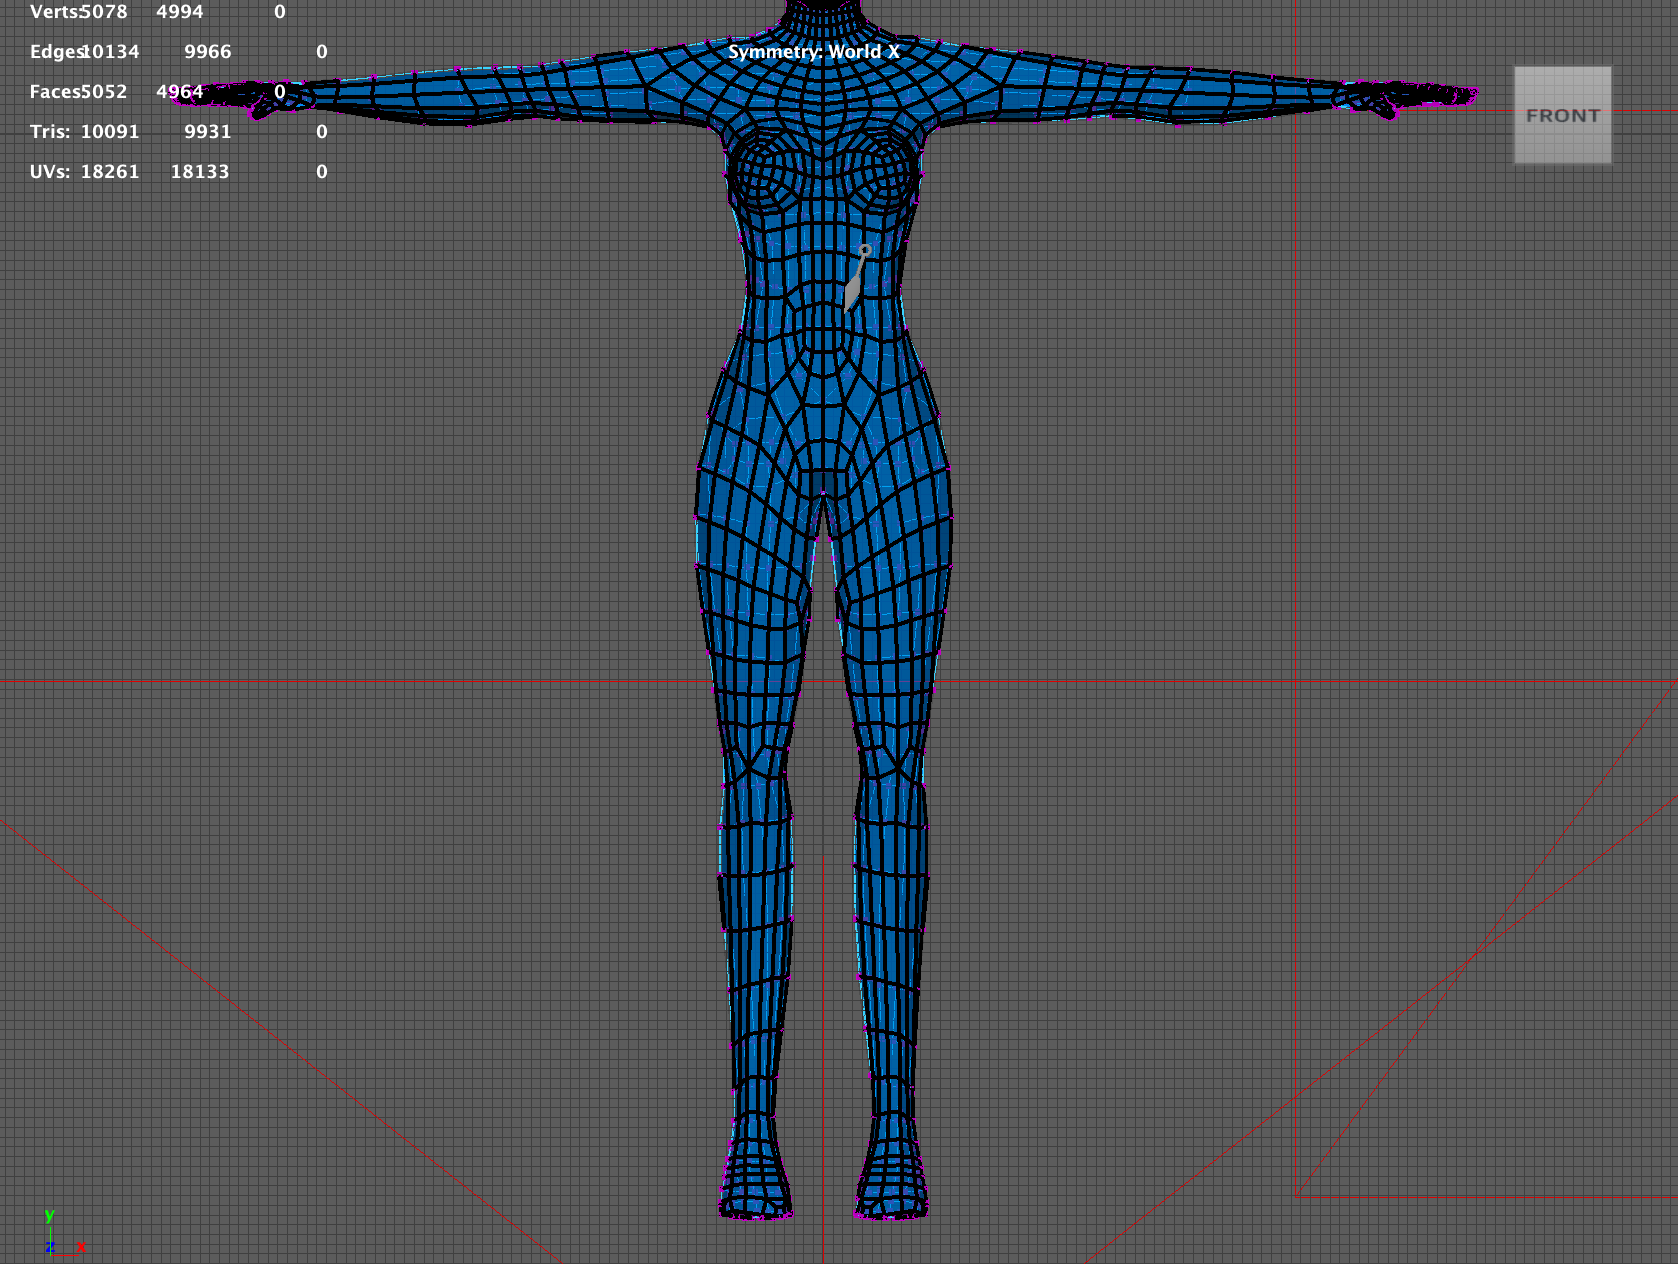
Box modeled the human body and armor using Maya.
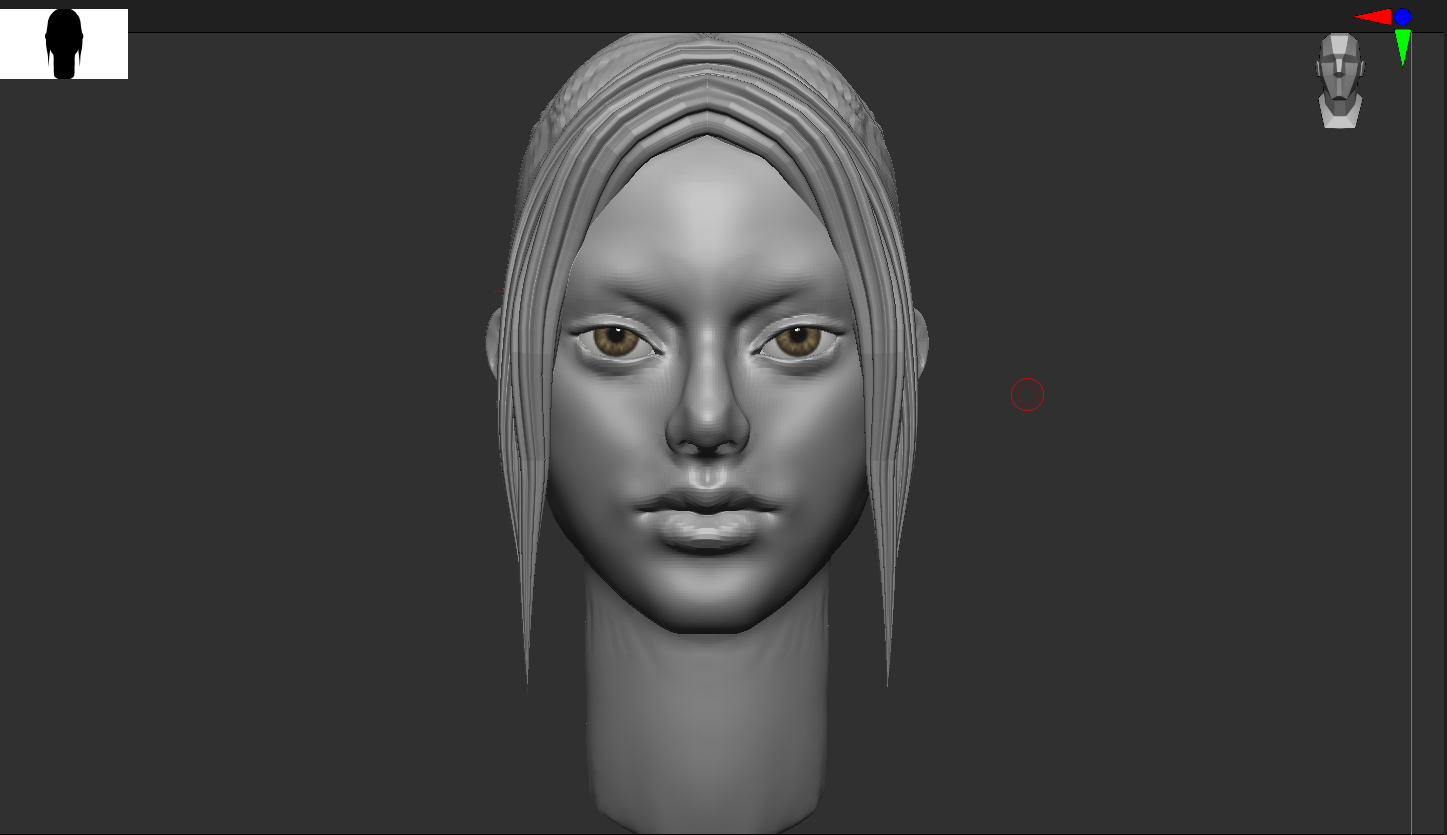
Sculpted human head and refined the armor using ZBrush.
Remshed using Maya.
Textured using Adobe Substance Painter.
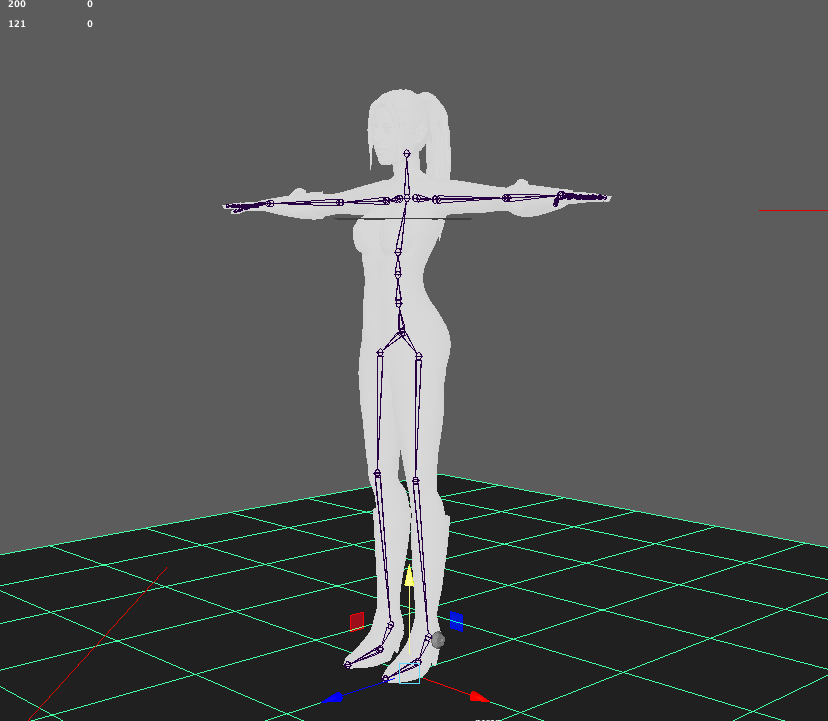
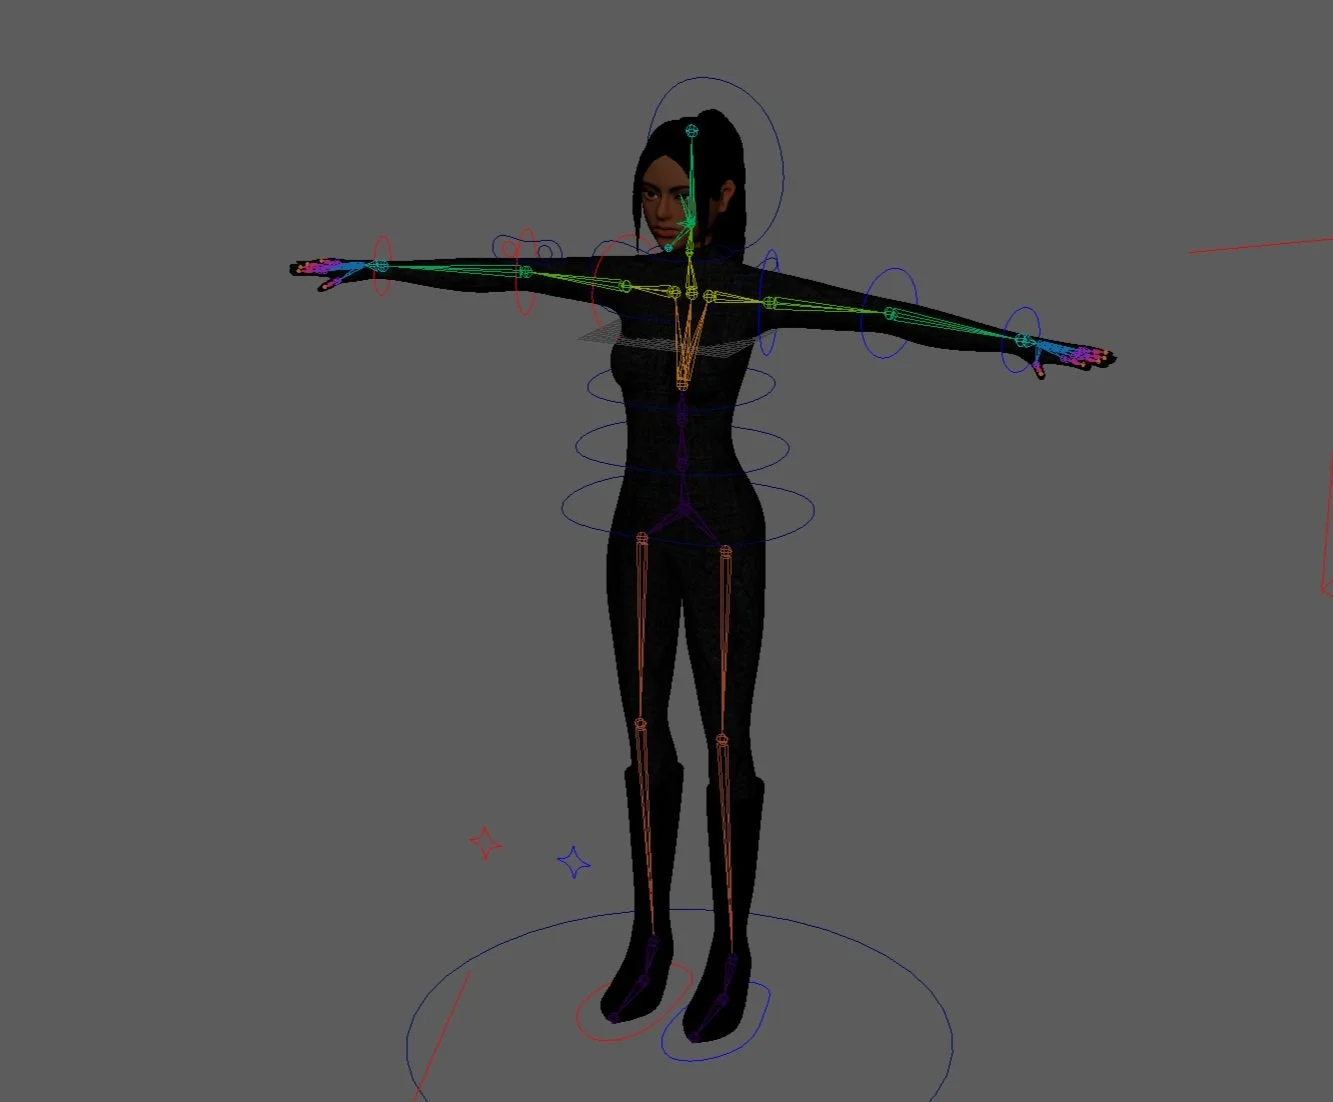
Rigging, animating, and applying cloth simulation using Maya.
Character rig
Character Turntable
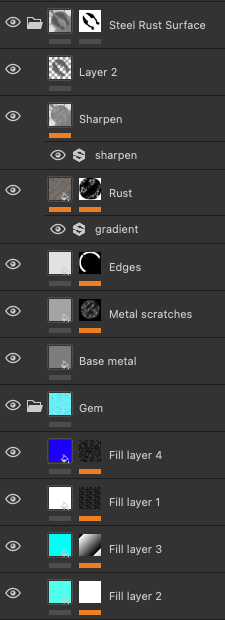
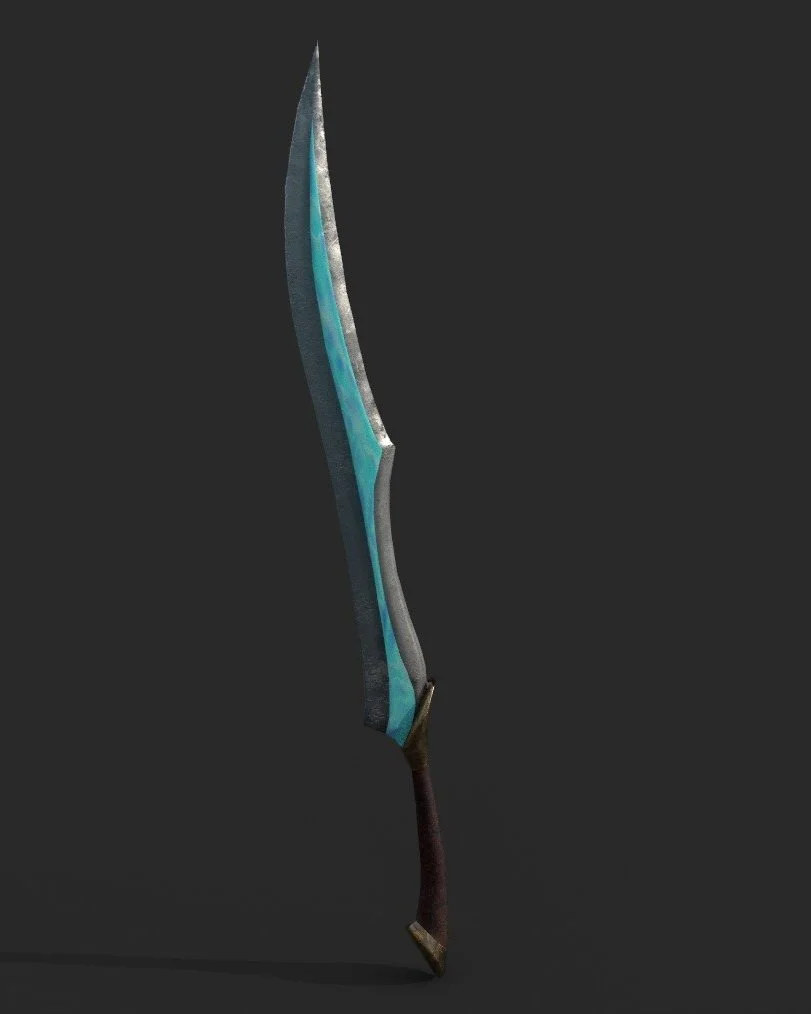
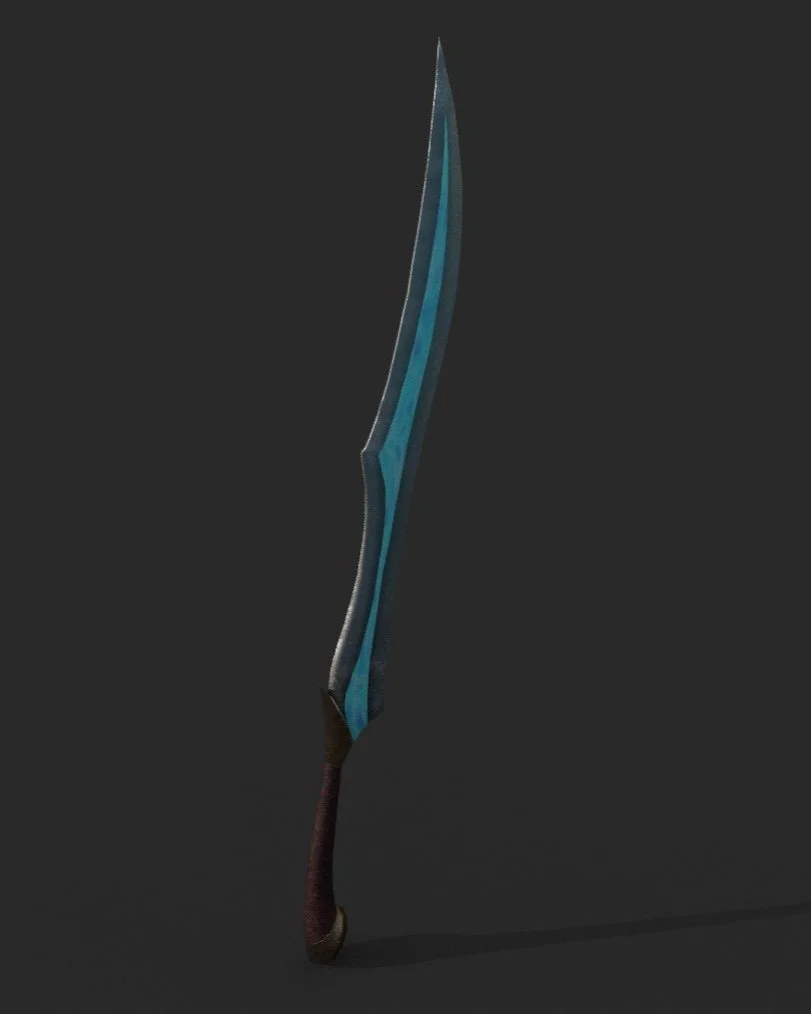
The sword and its texture creation
3D props
Sci-fi Charater
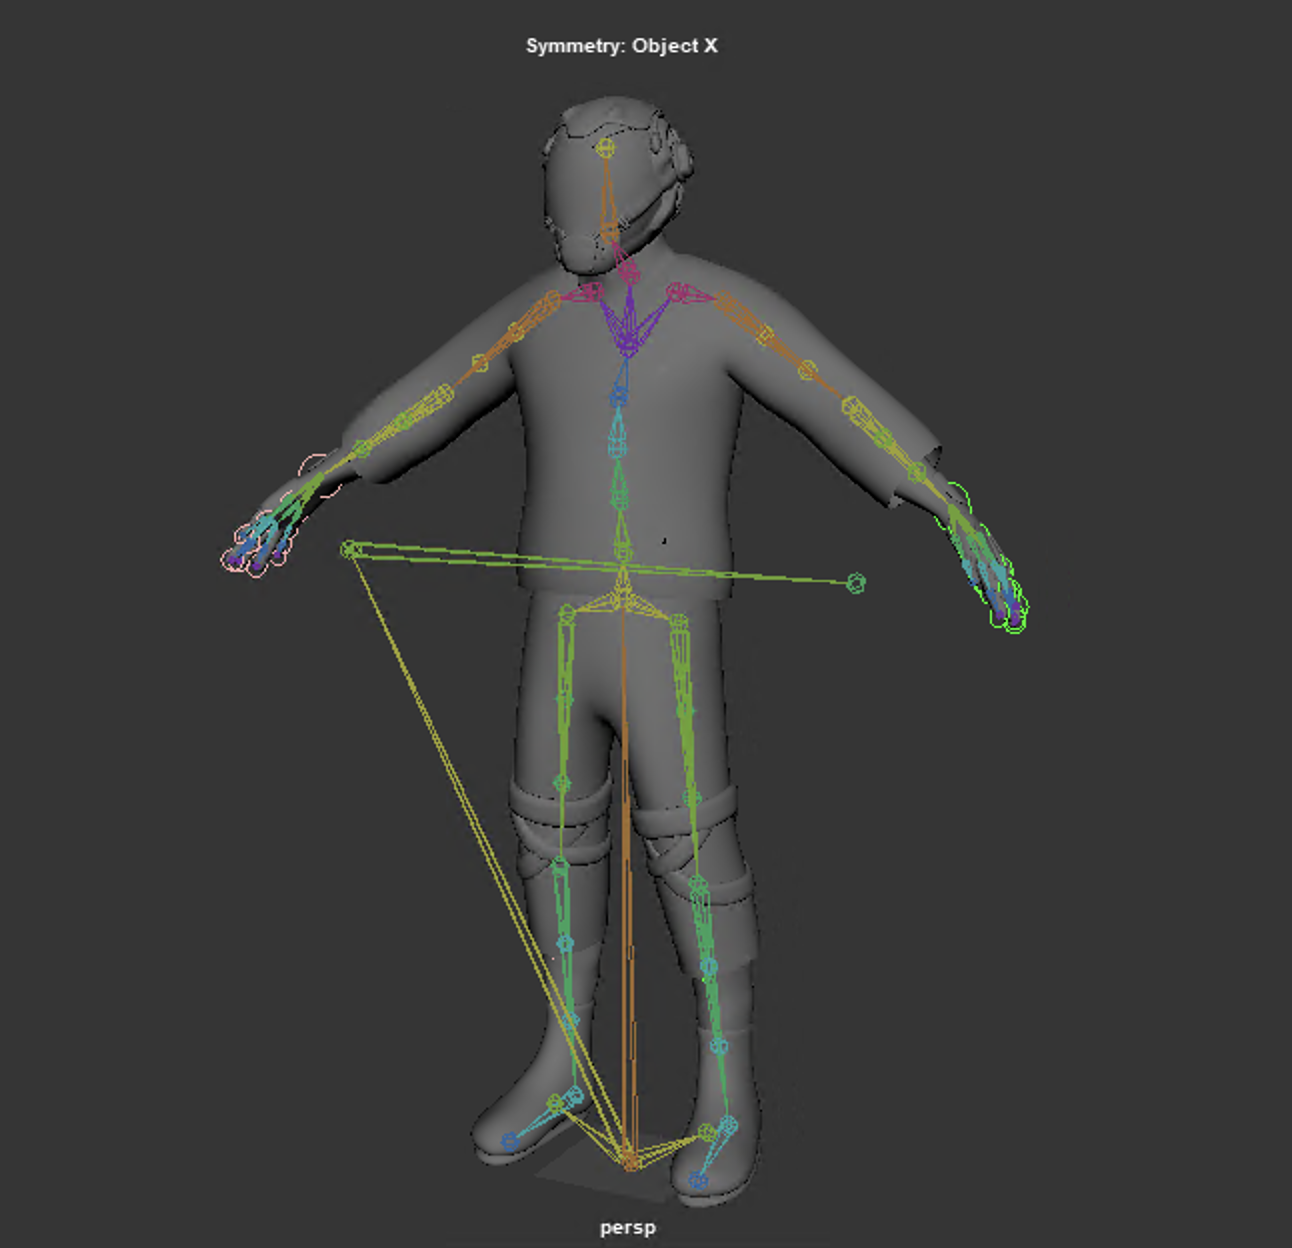
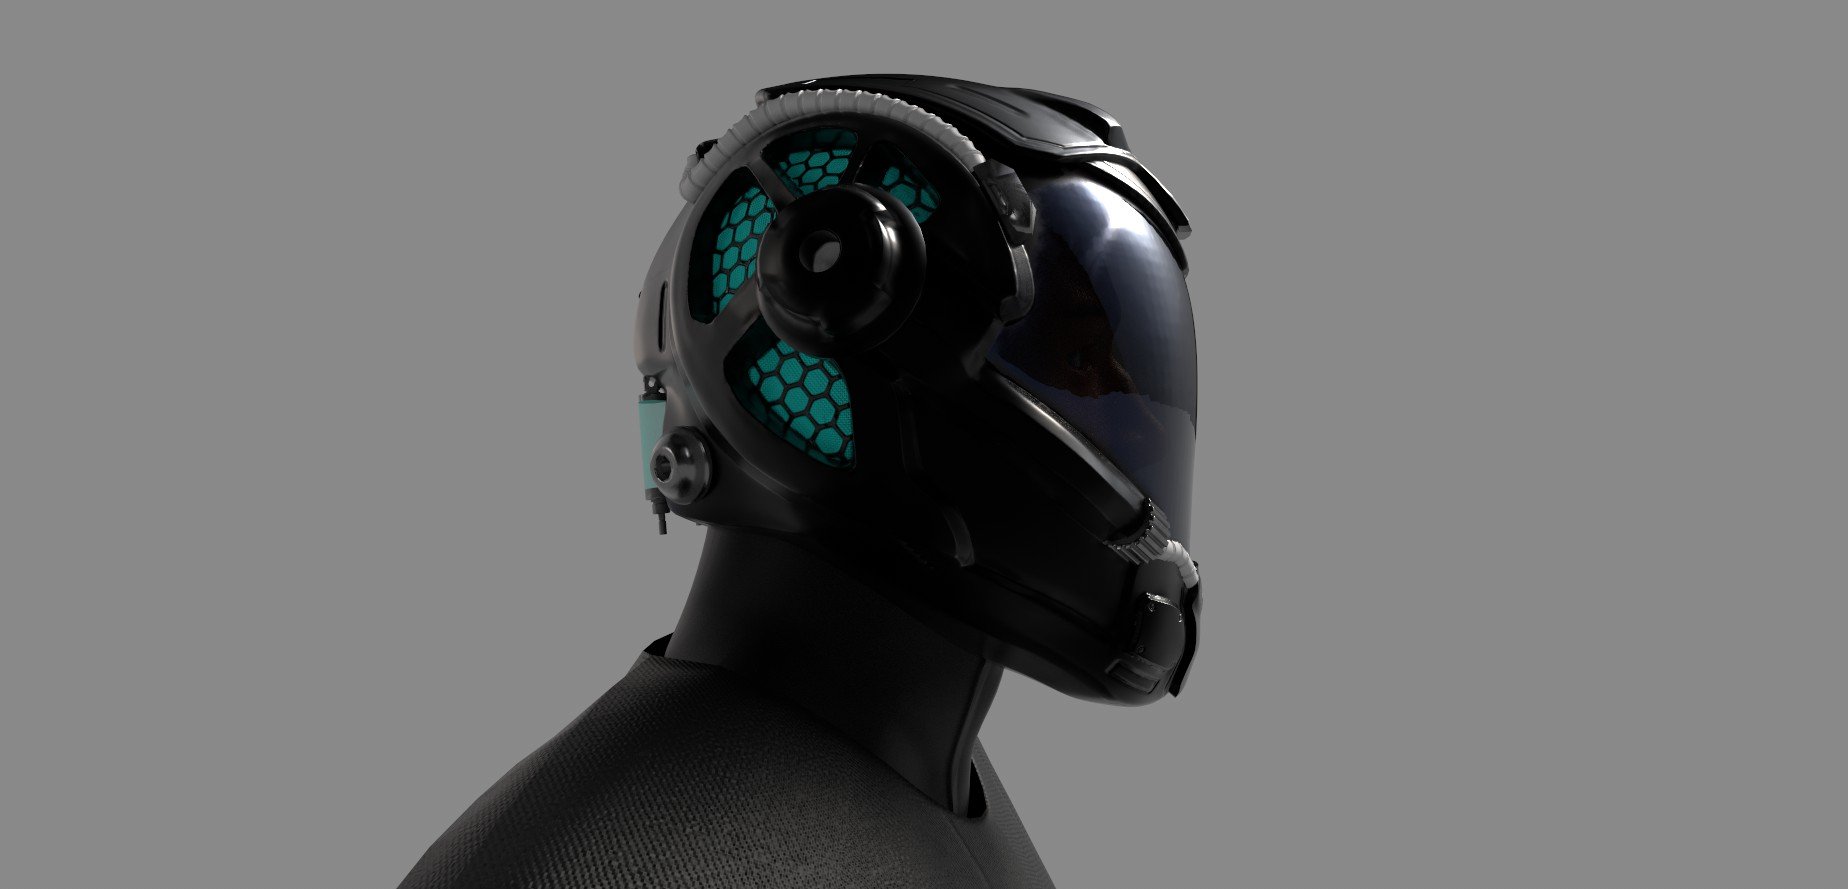
This is the character that I designed, modeled and rigged for a passion game project. Unlike the previous character project, I directly rigged this character with the Mannequin skeletons so it can be directly used for Mannequin animation package without retargeting.
Time spent: two weeks
Design Idea:
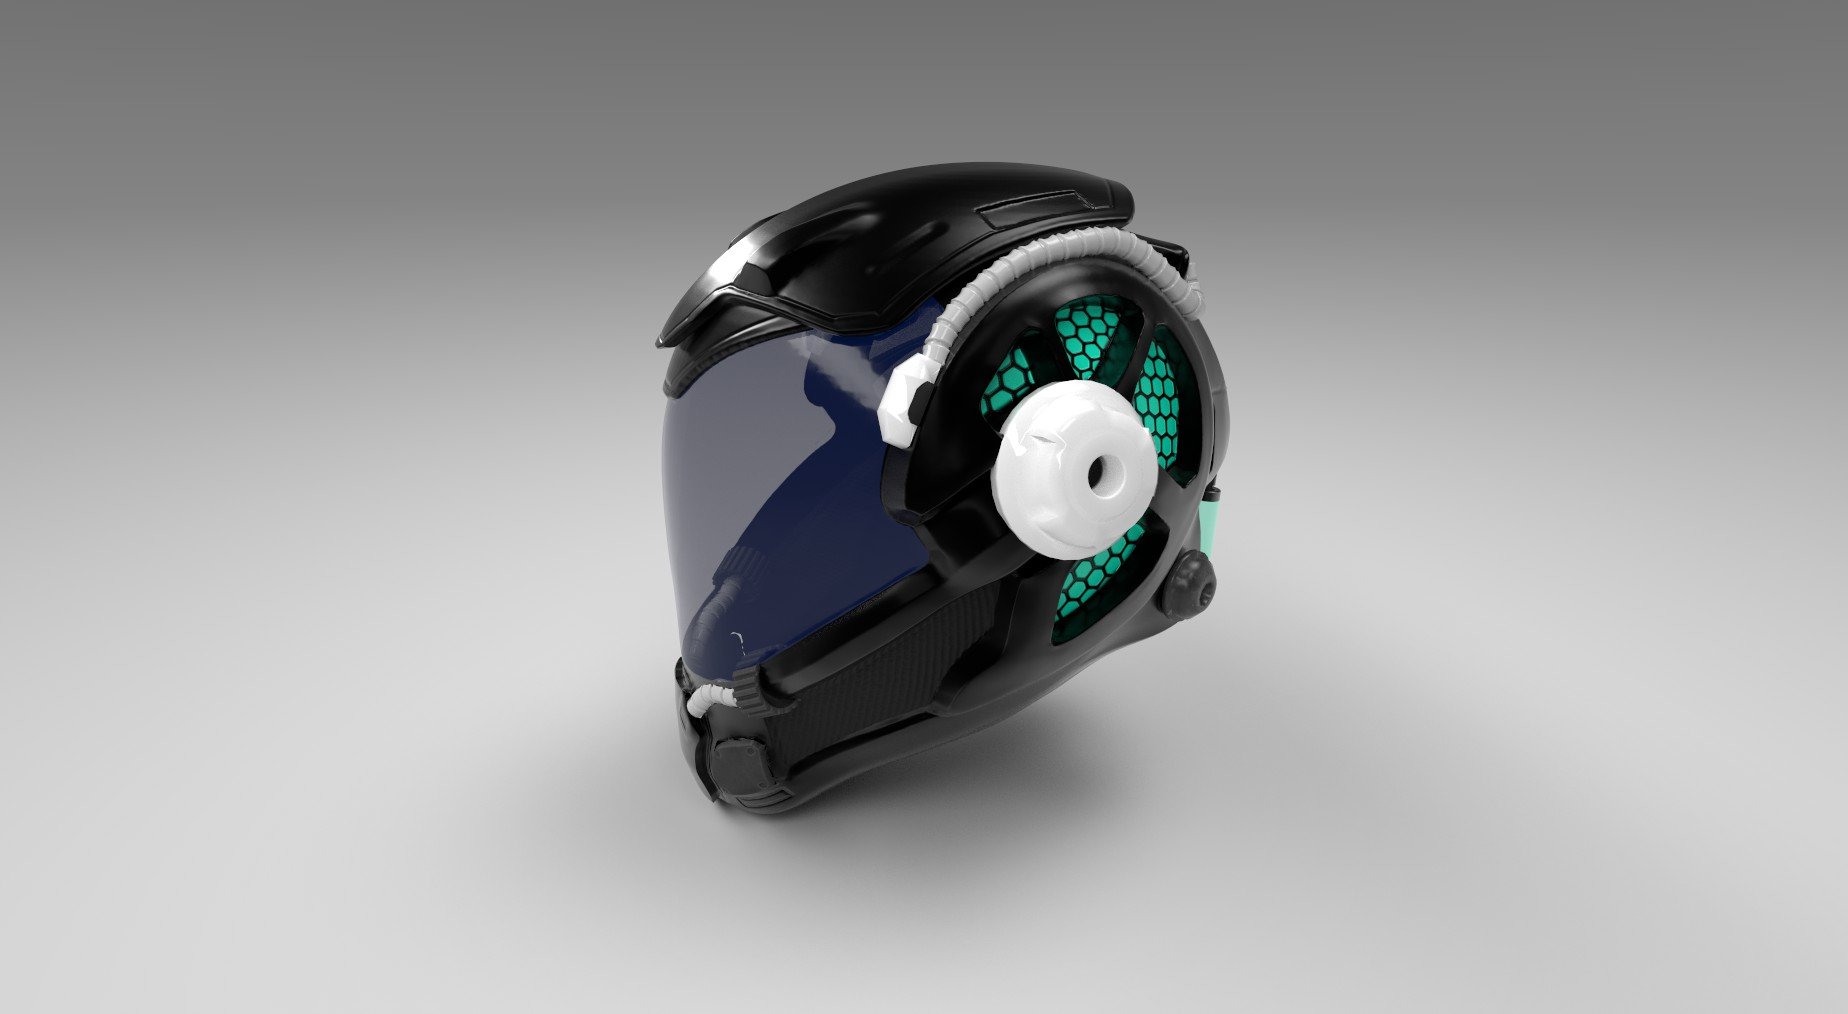
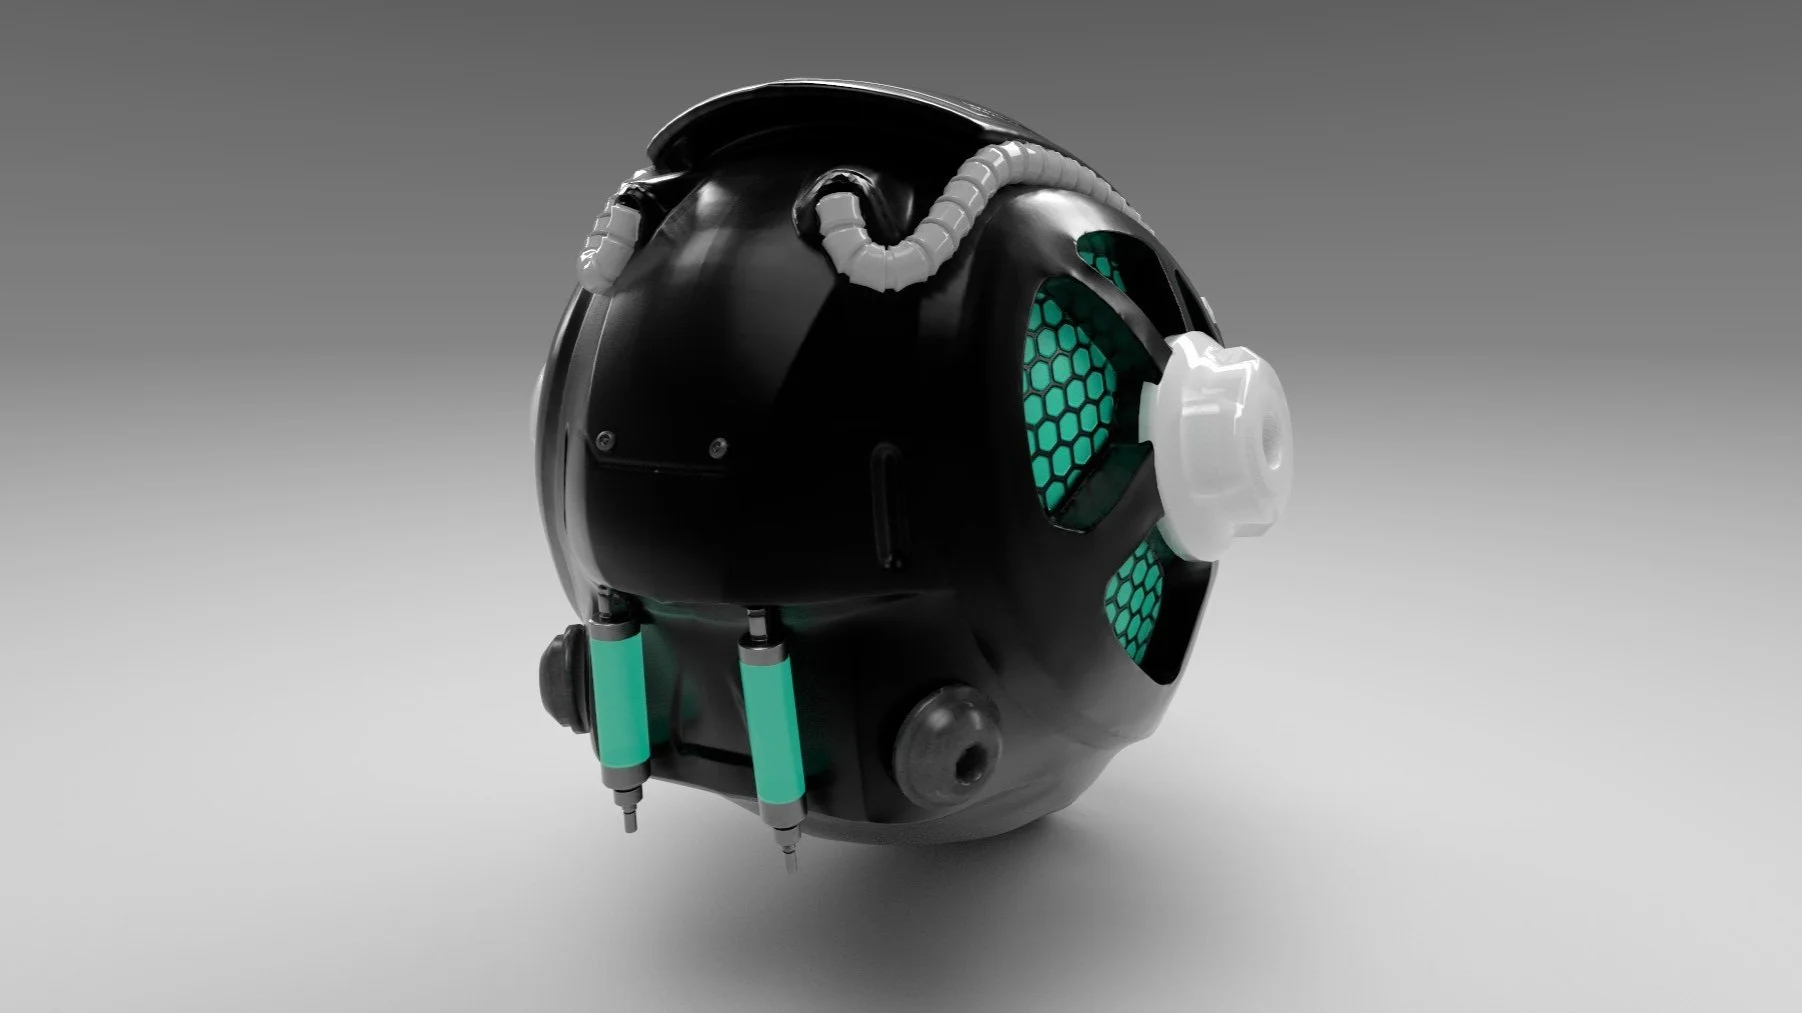
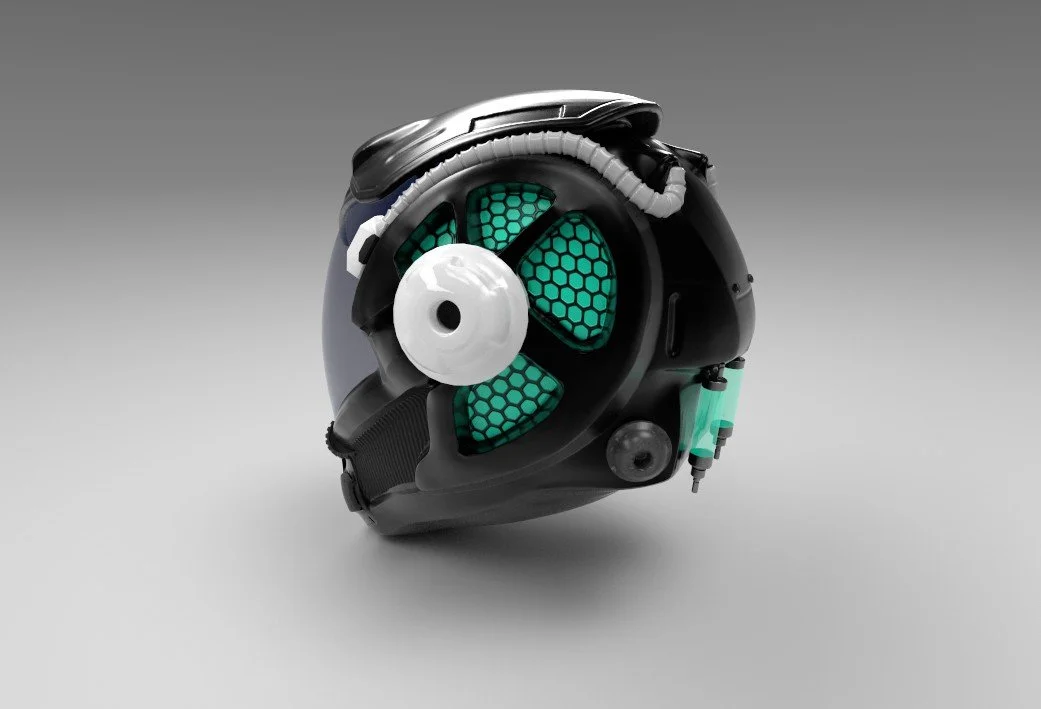
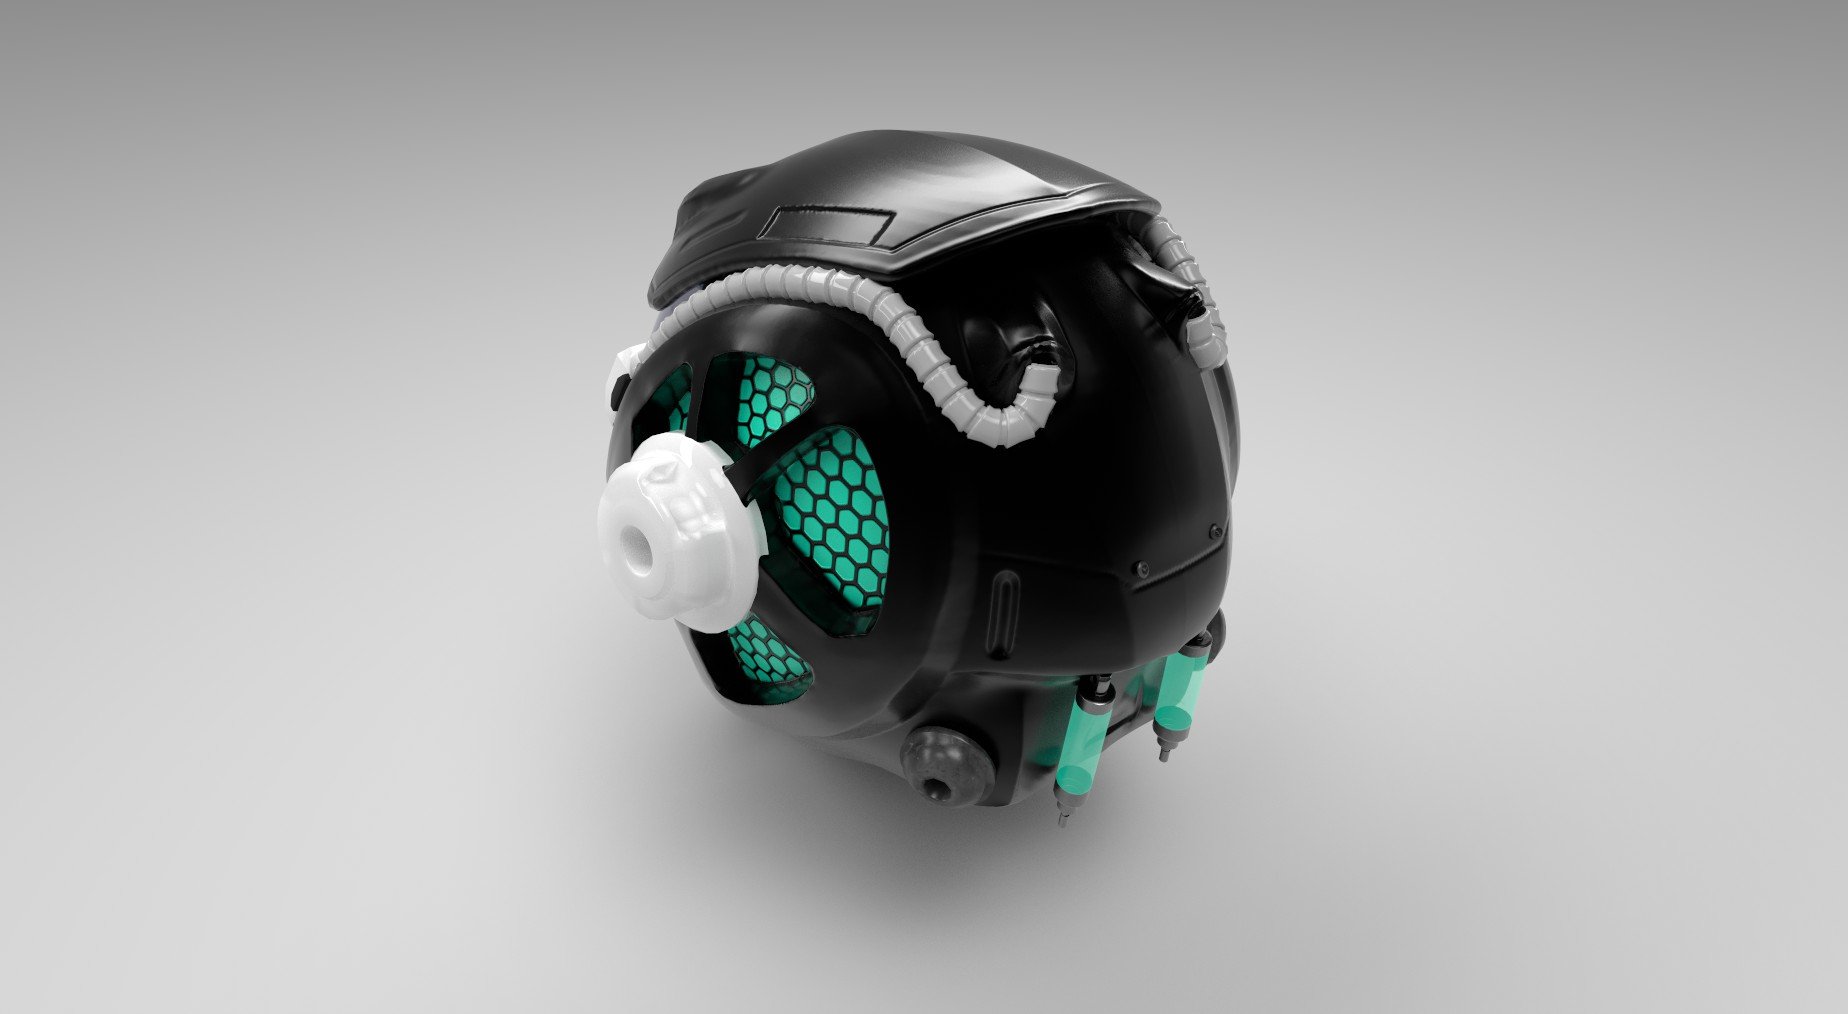
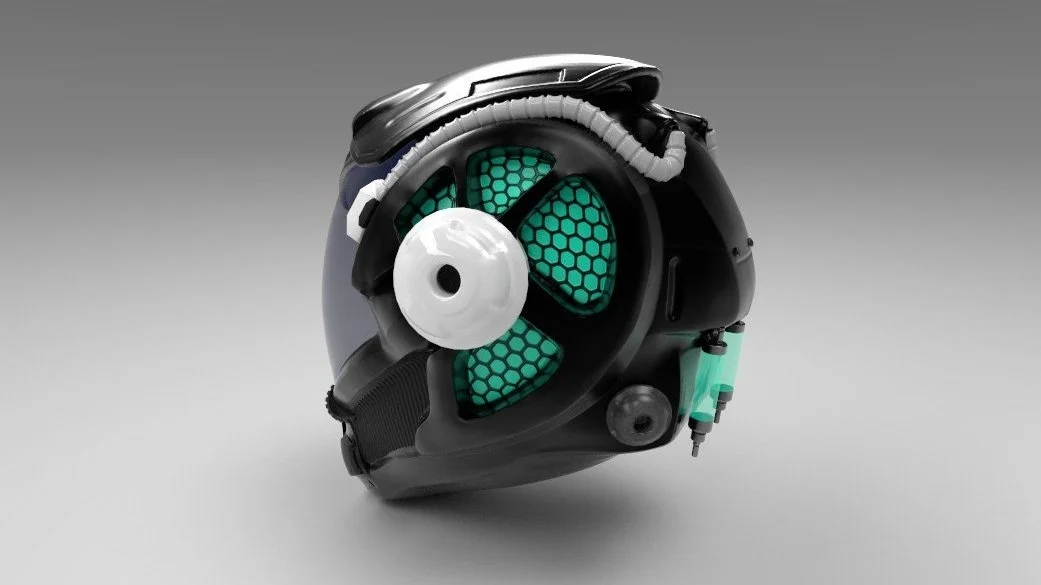
The backstory happens in a laboratory built from a church. So we were mainly going for a futuristic style. While the character is exploring the lab, there will be parts where air is more polluted and the character may need a helmet. This is why I designed the character into a futuristic style.
Basic Workflow:
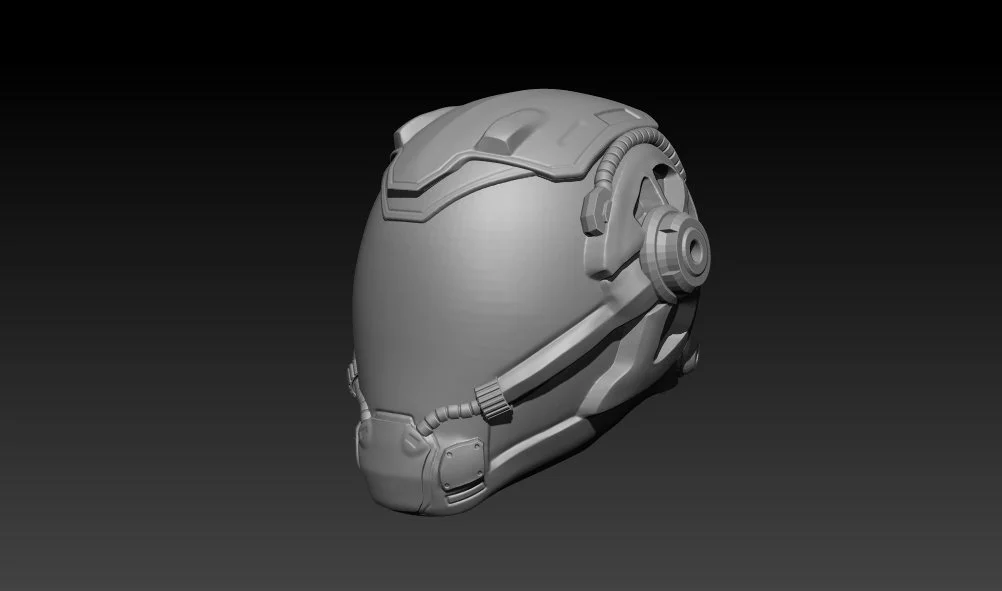
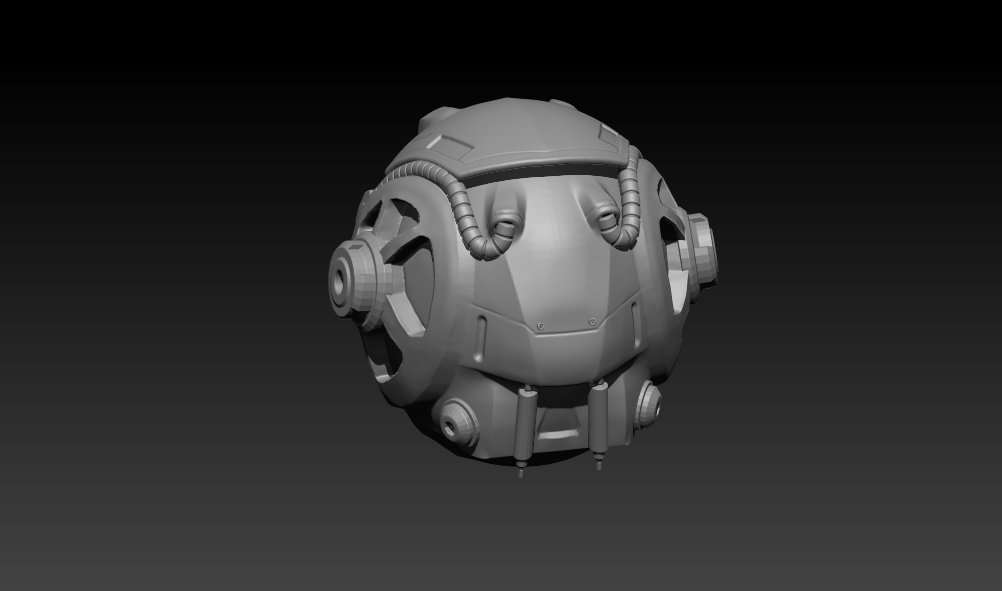
Sculpted the character and helmet in ZBrush
Retypologized in Maya
Baked high-poly to low-poly and textured in Substance Painter
Rigged in Maya with the Mannequin skeleton exported from Unreal Engine
Character rig
Sculpted helmet in ZBrush
Helmet details
Rigging:
I have also rigged the character with the mannequin skeleton exported from UE5, which we believe is a faster workflow than importing the skeletal mesh with different bones and controls and then retargeting them.
3D Environment
The Battleground
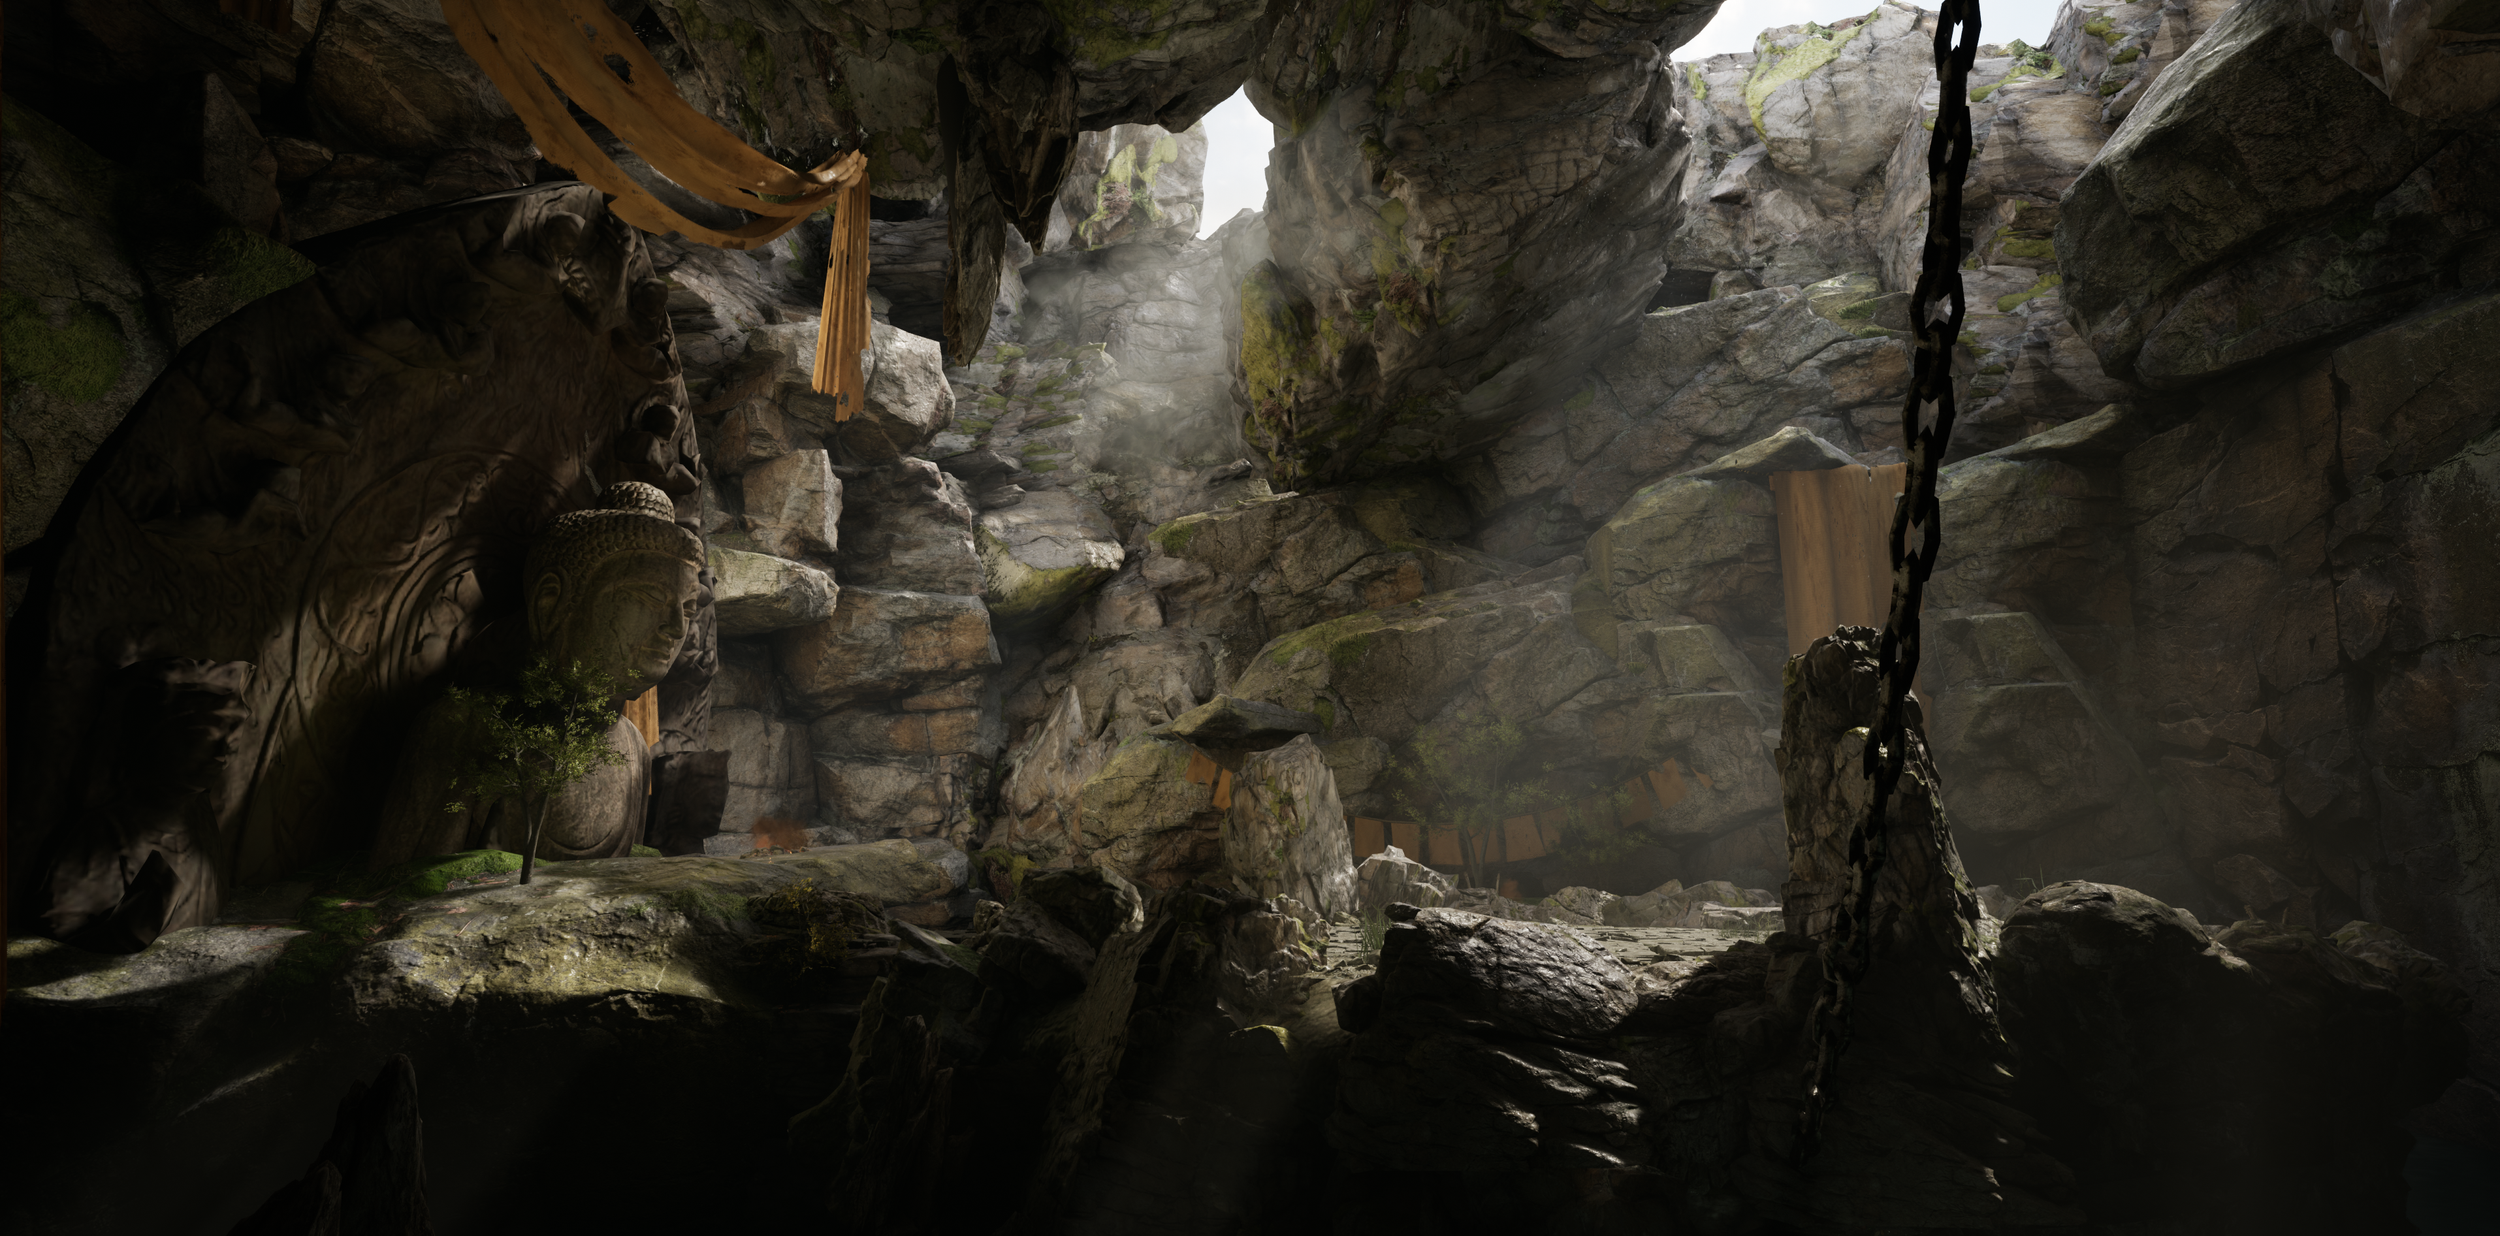
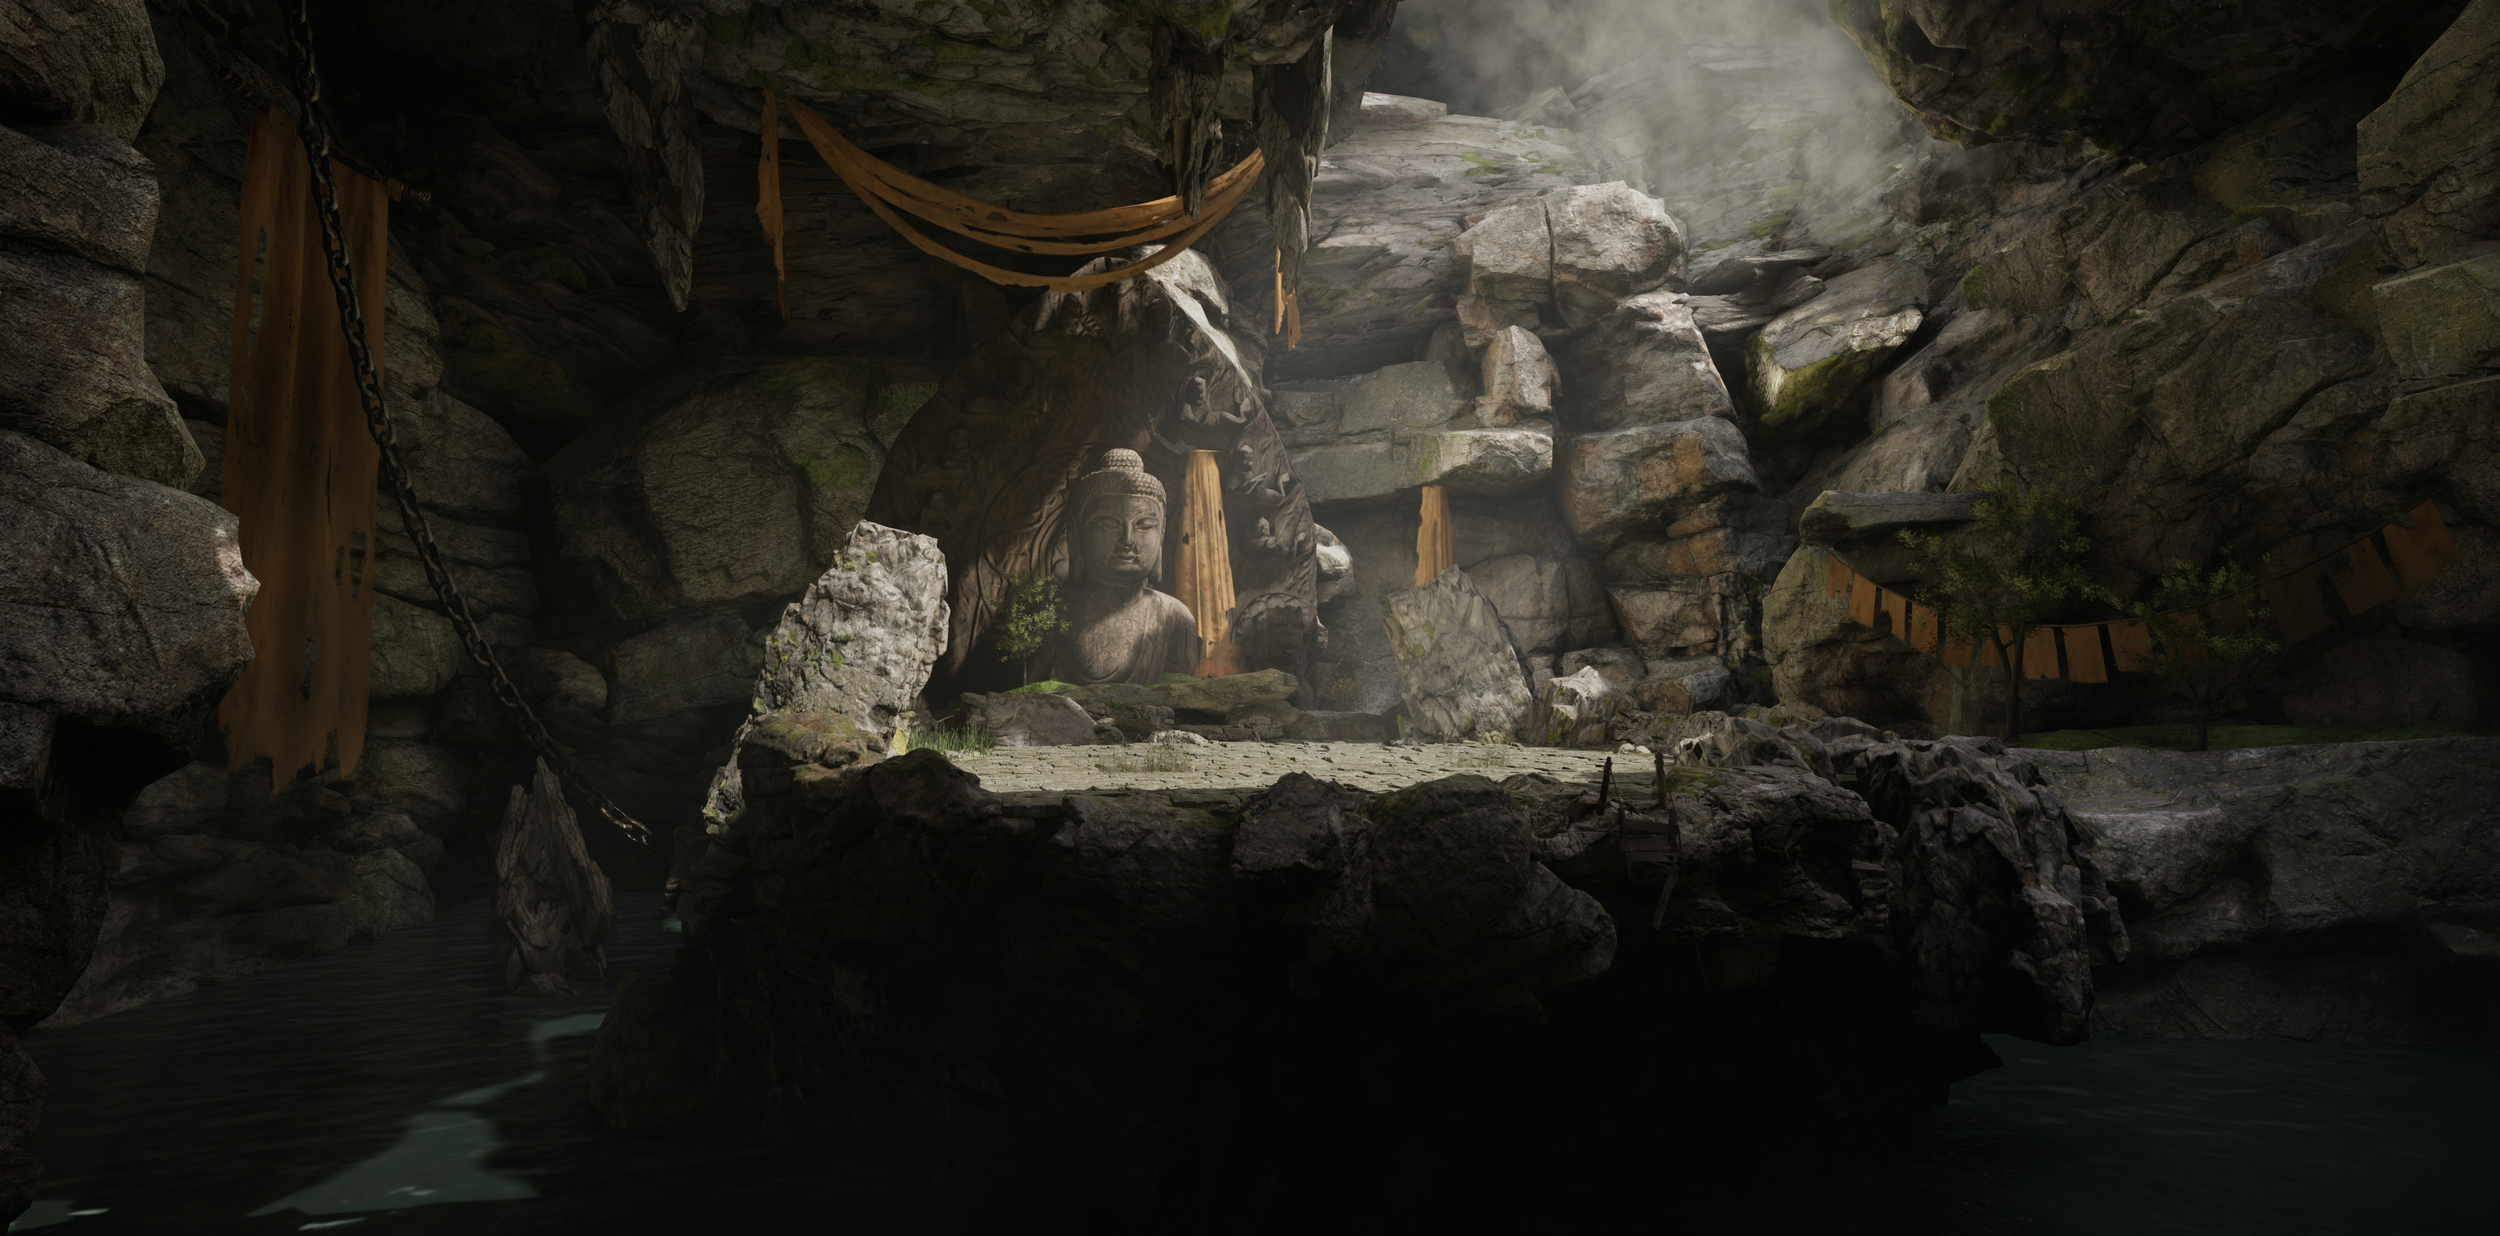
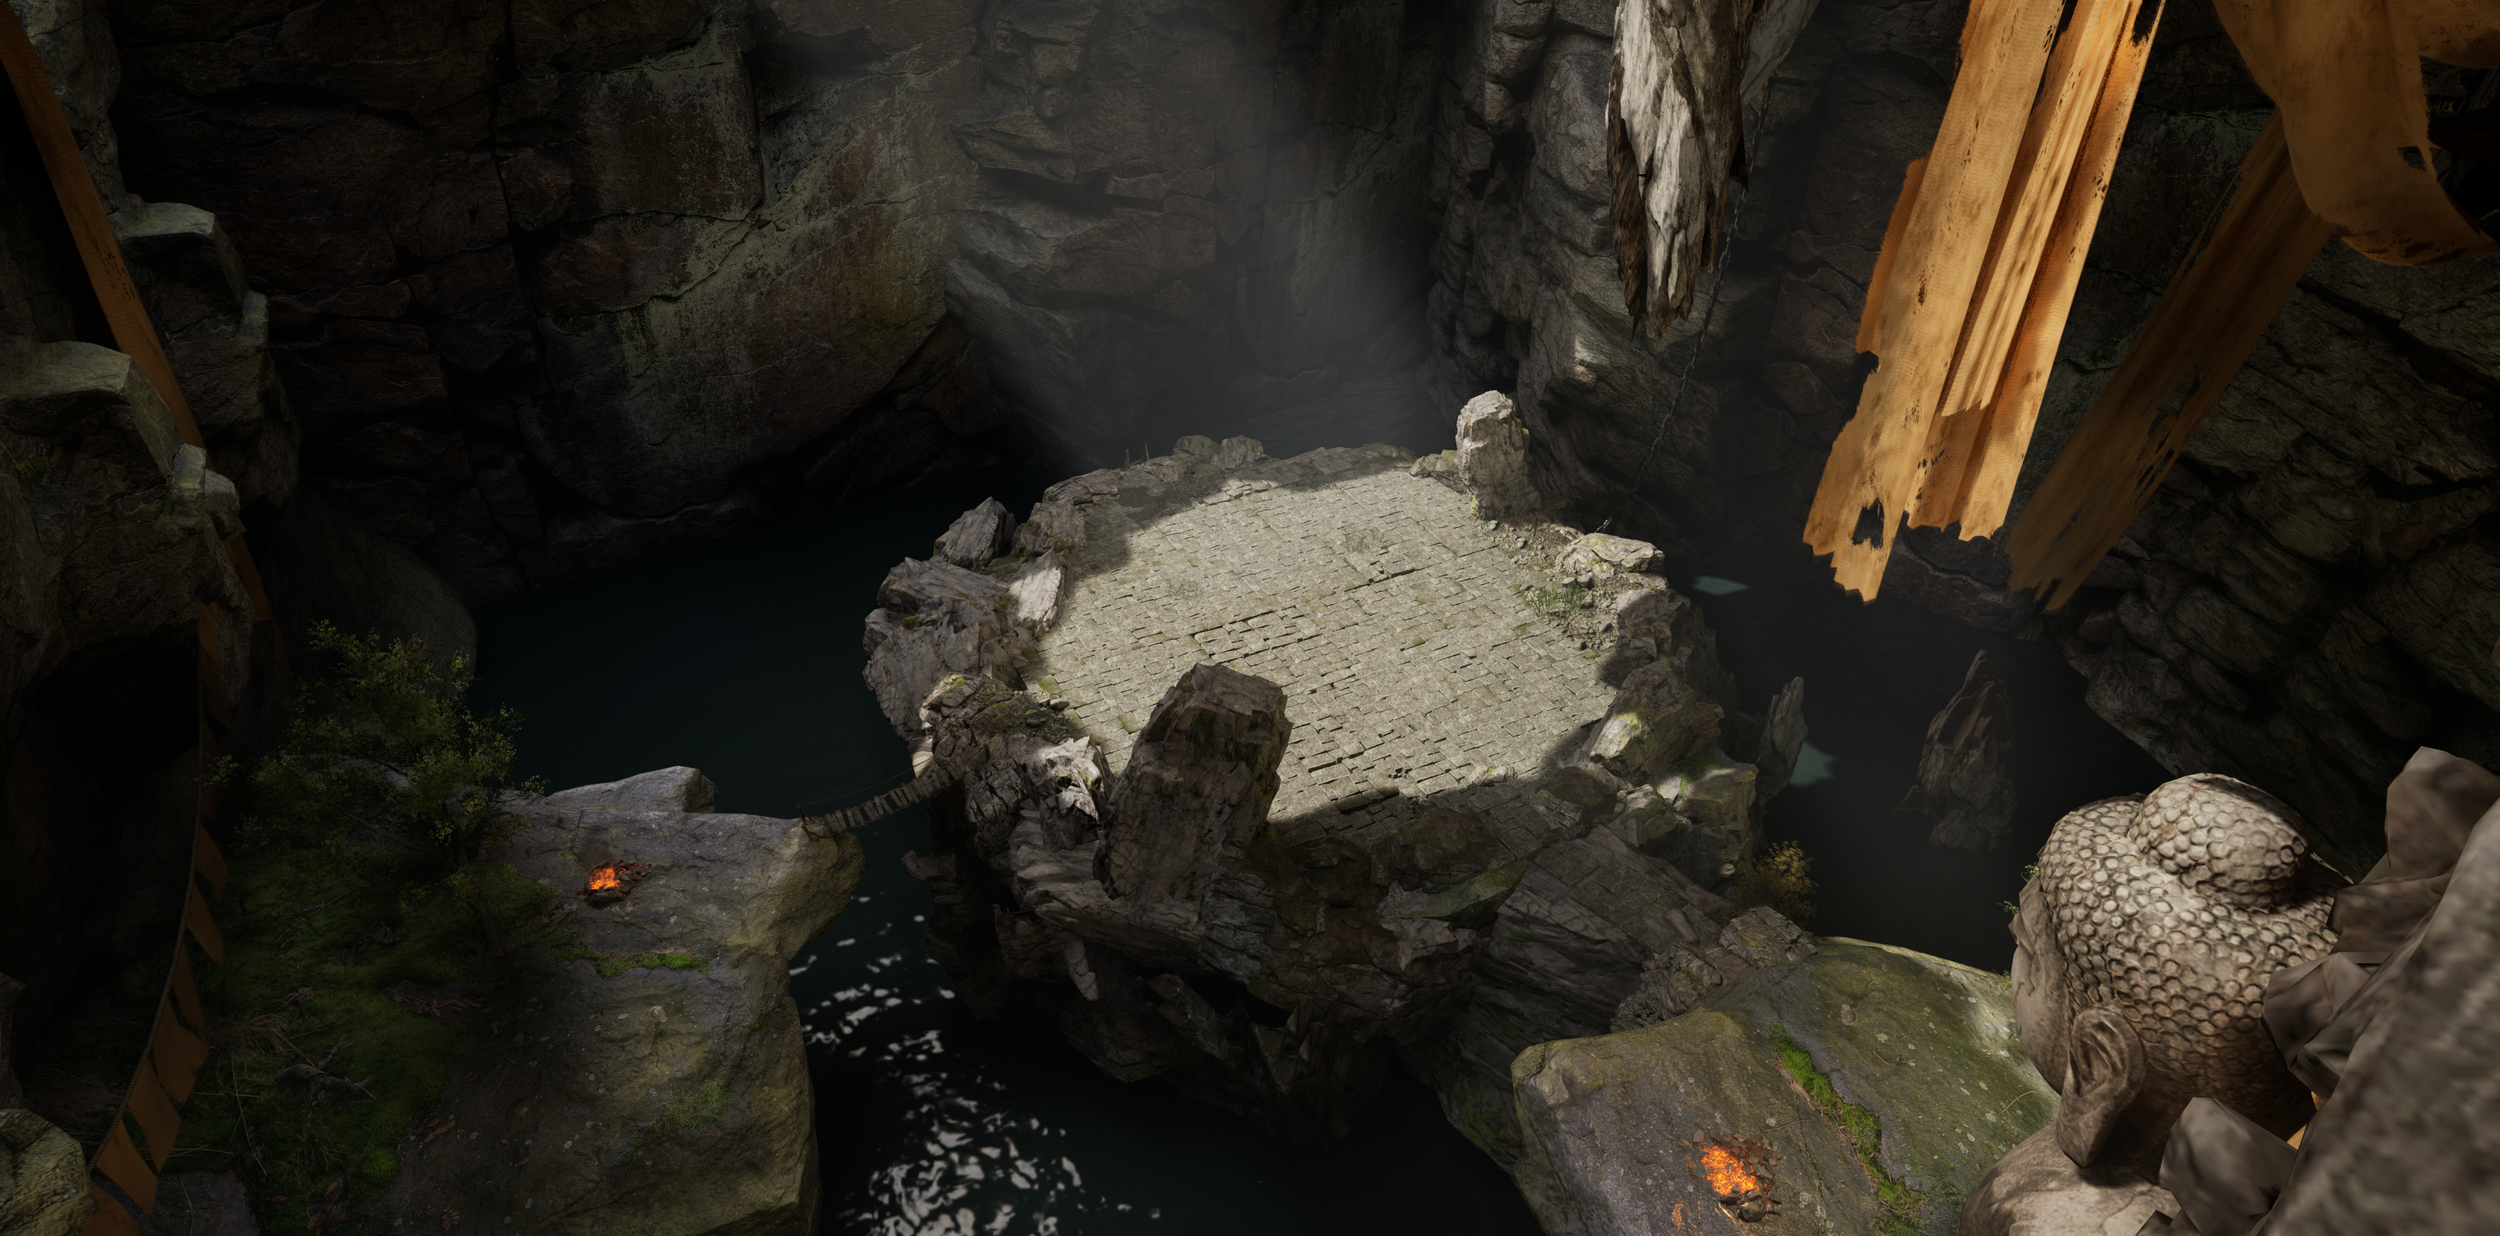
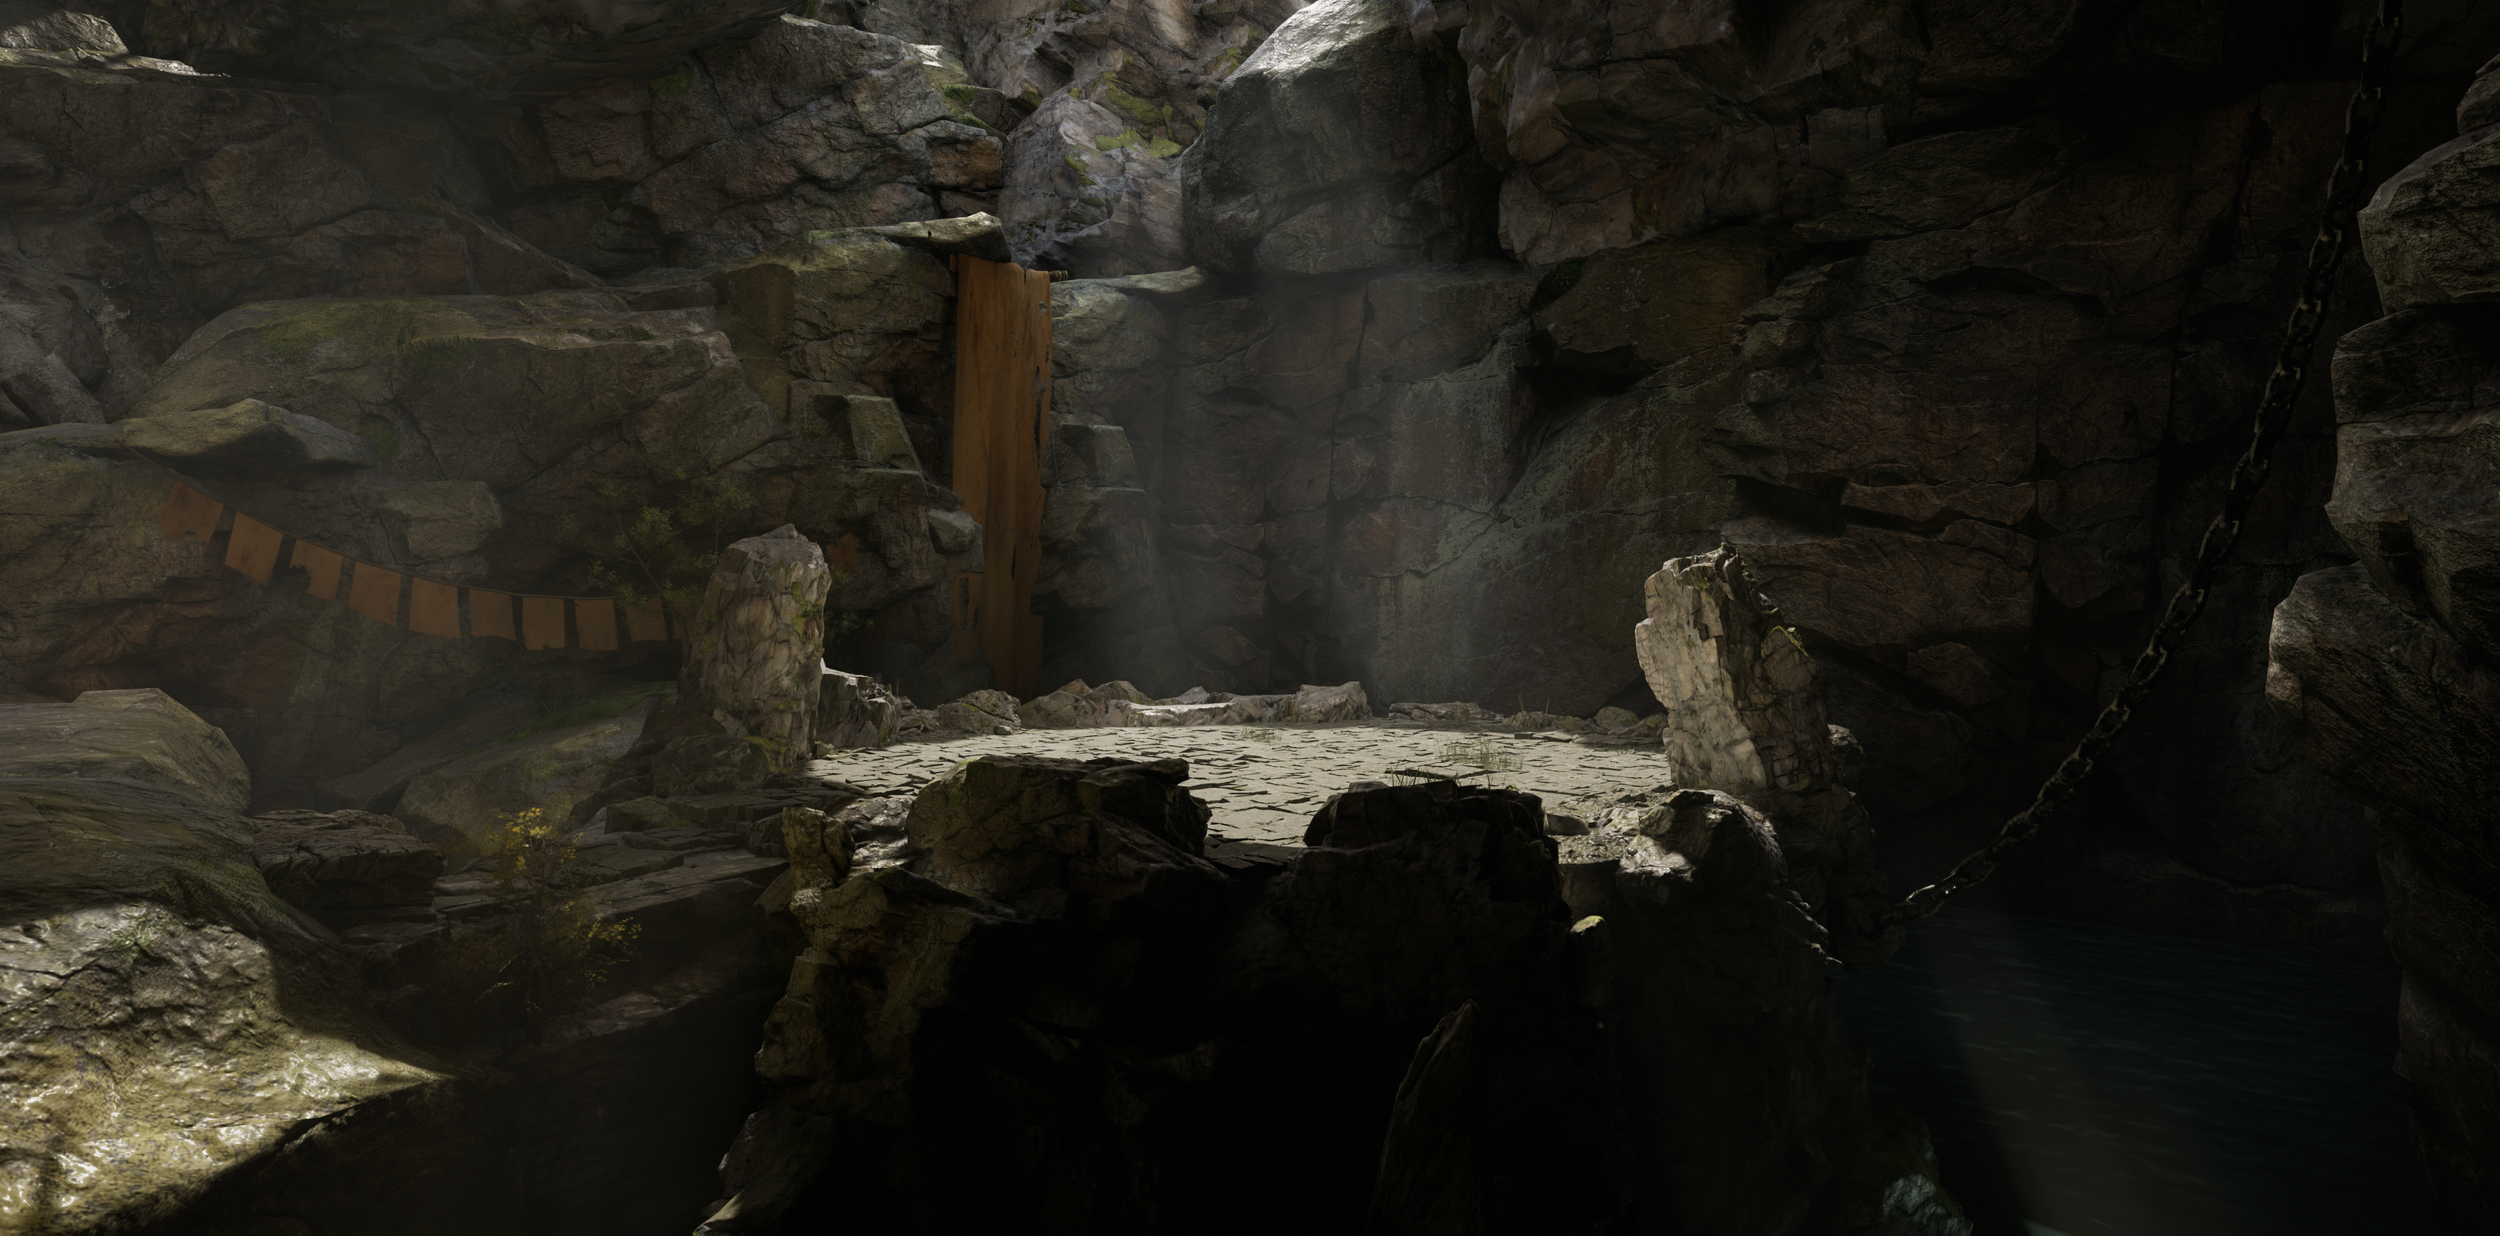
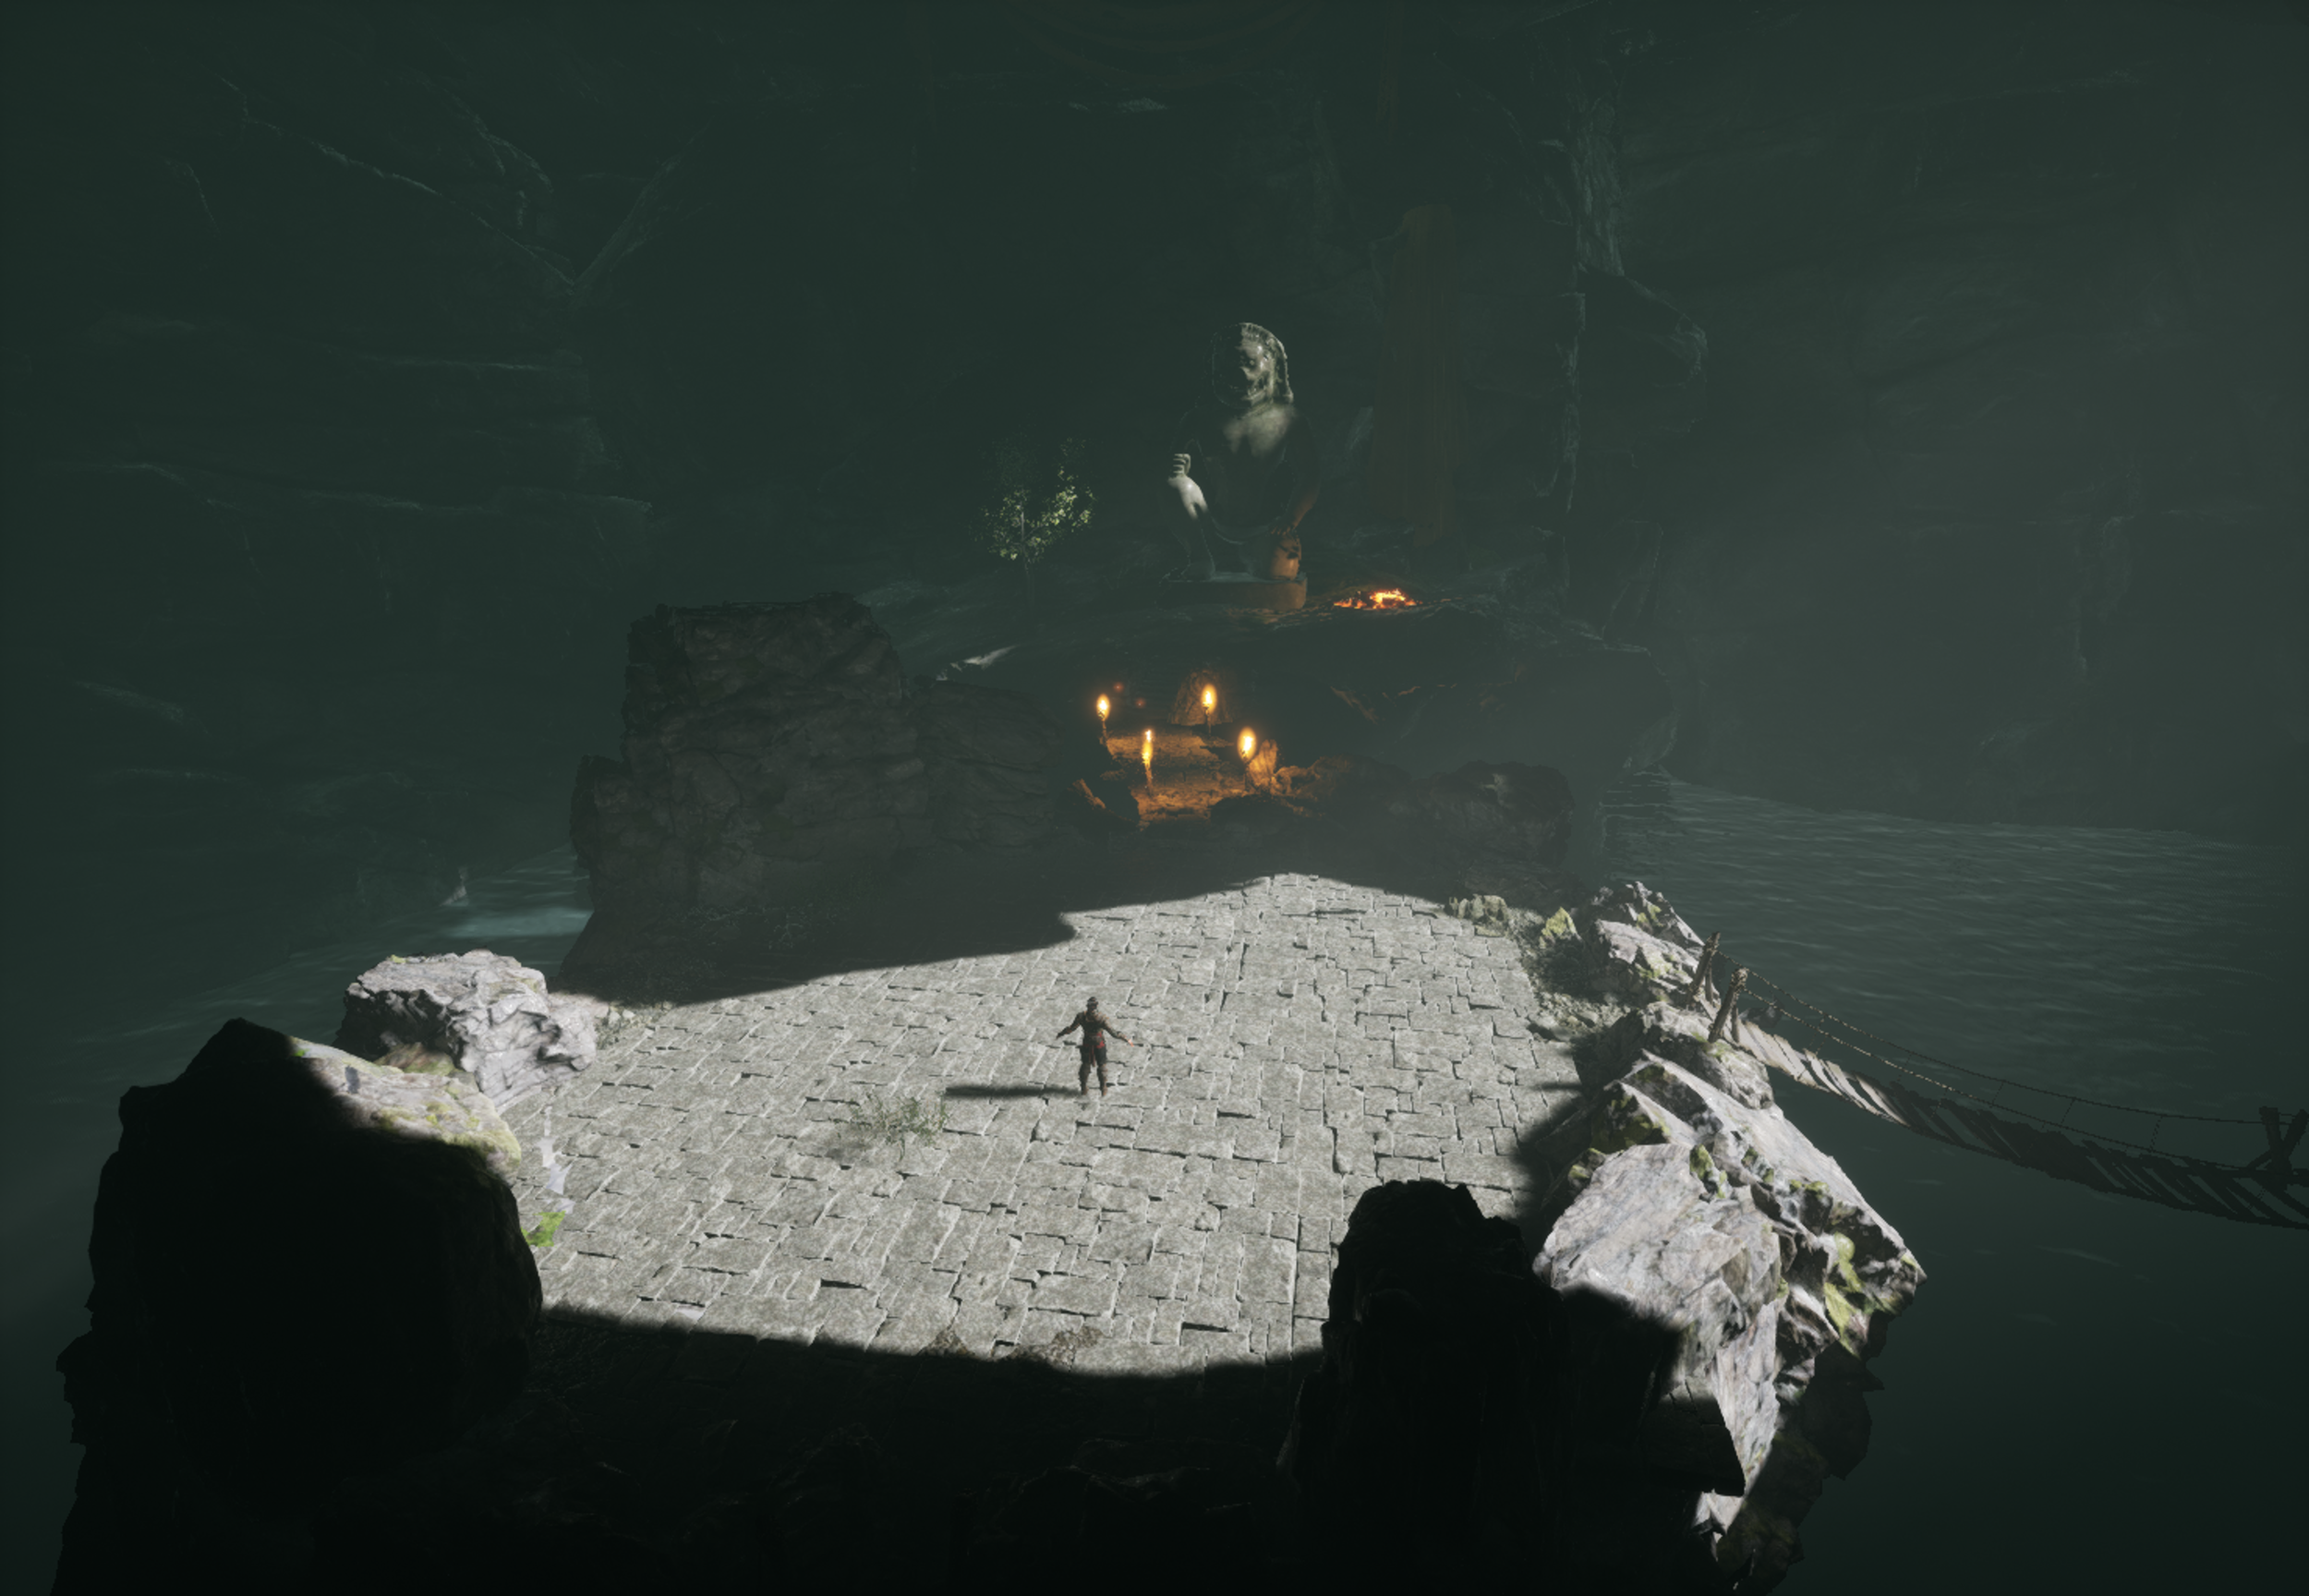
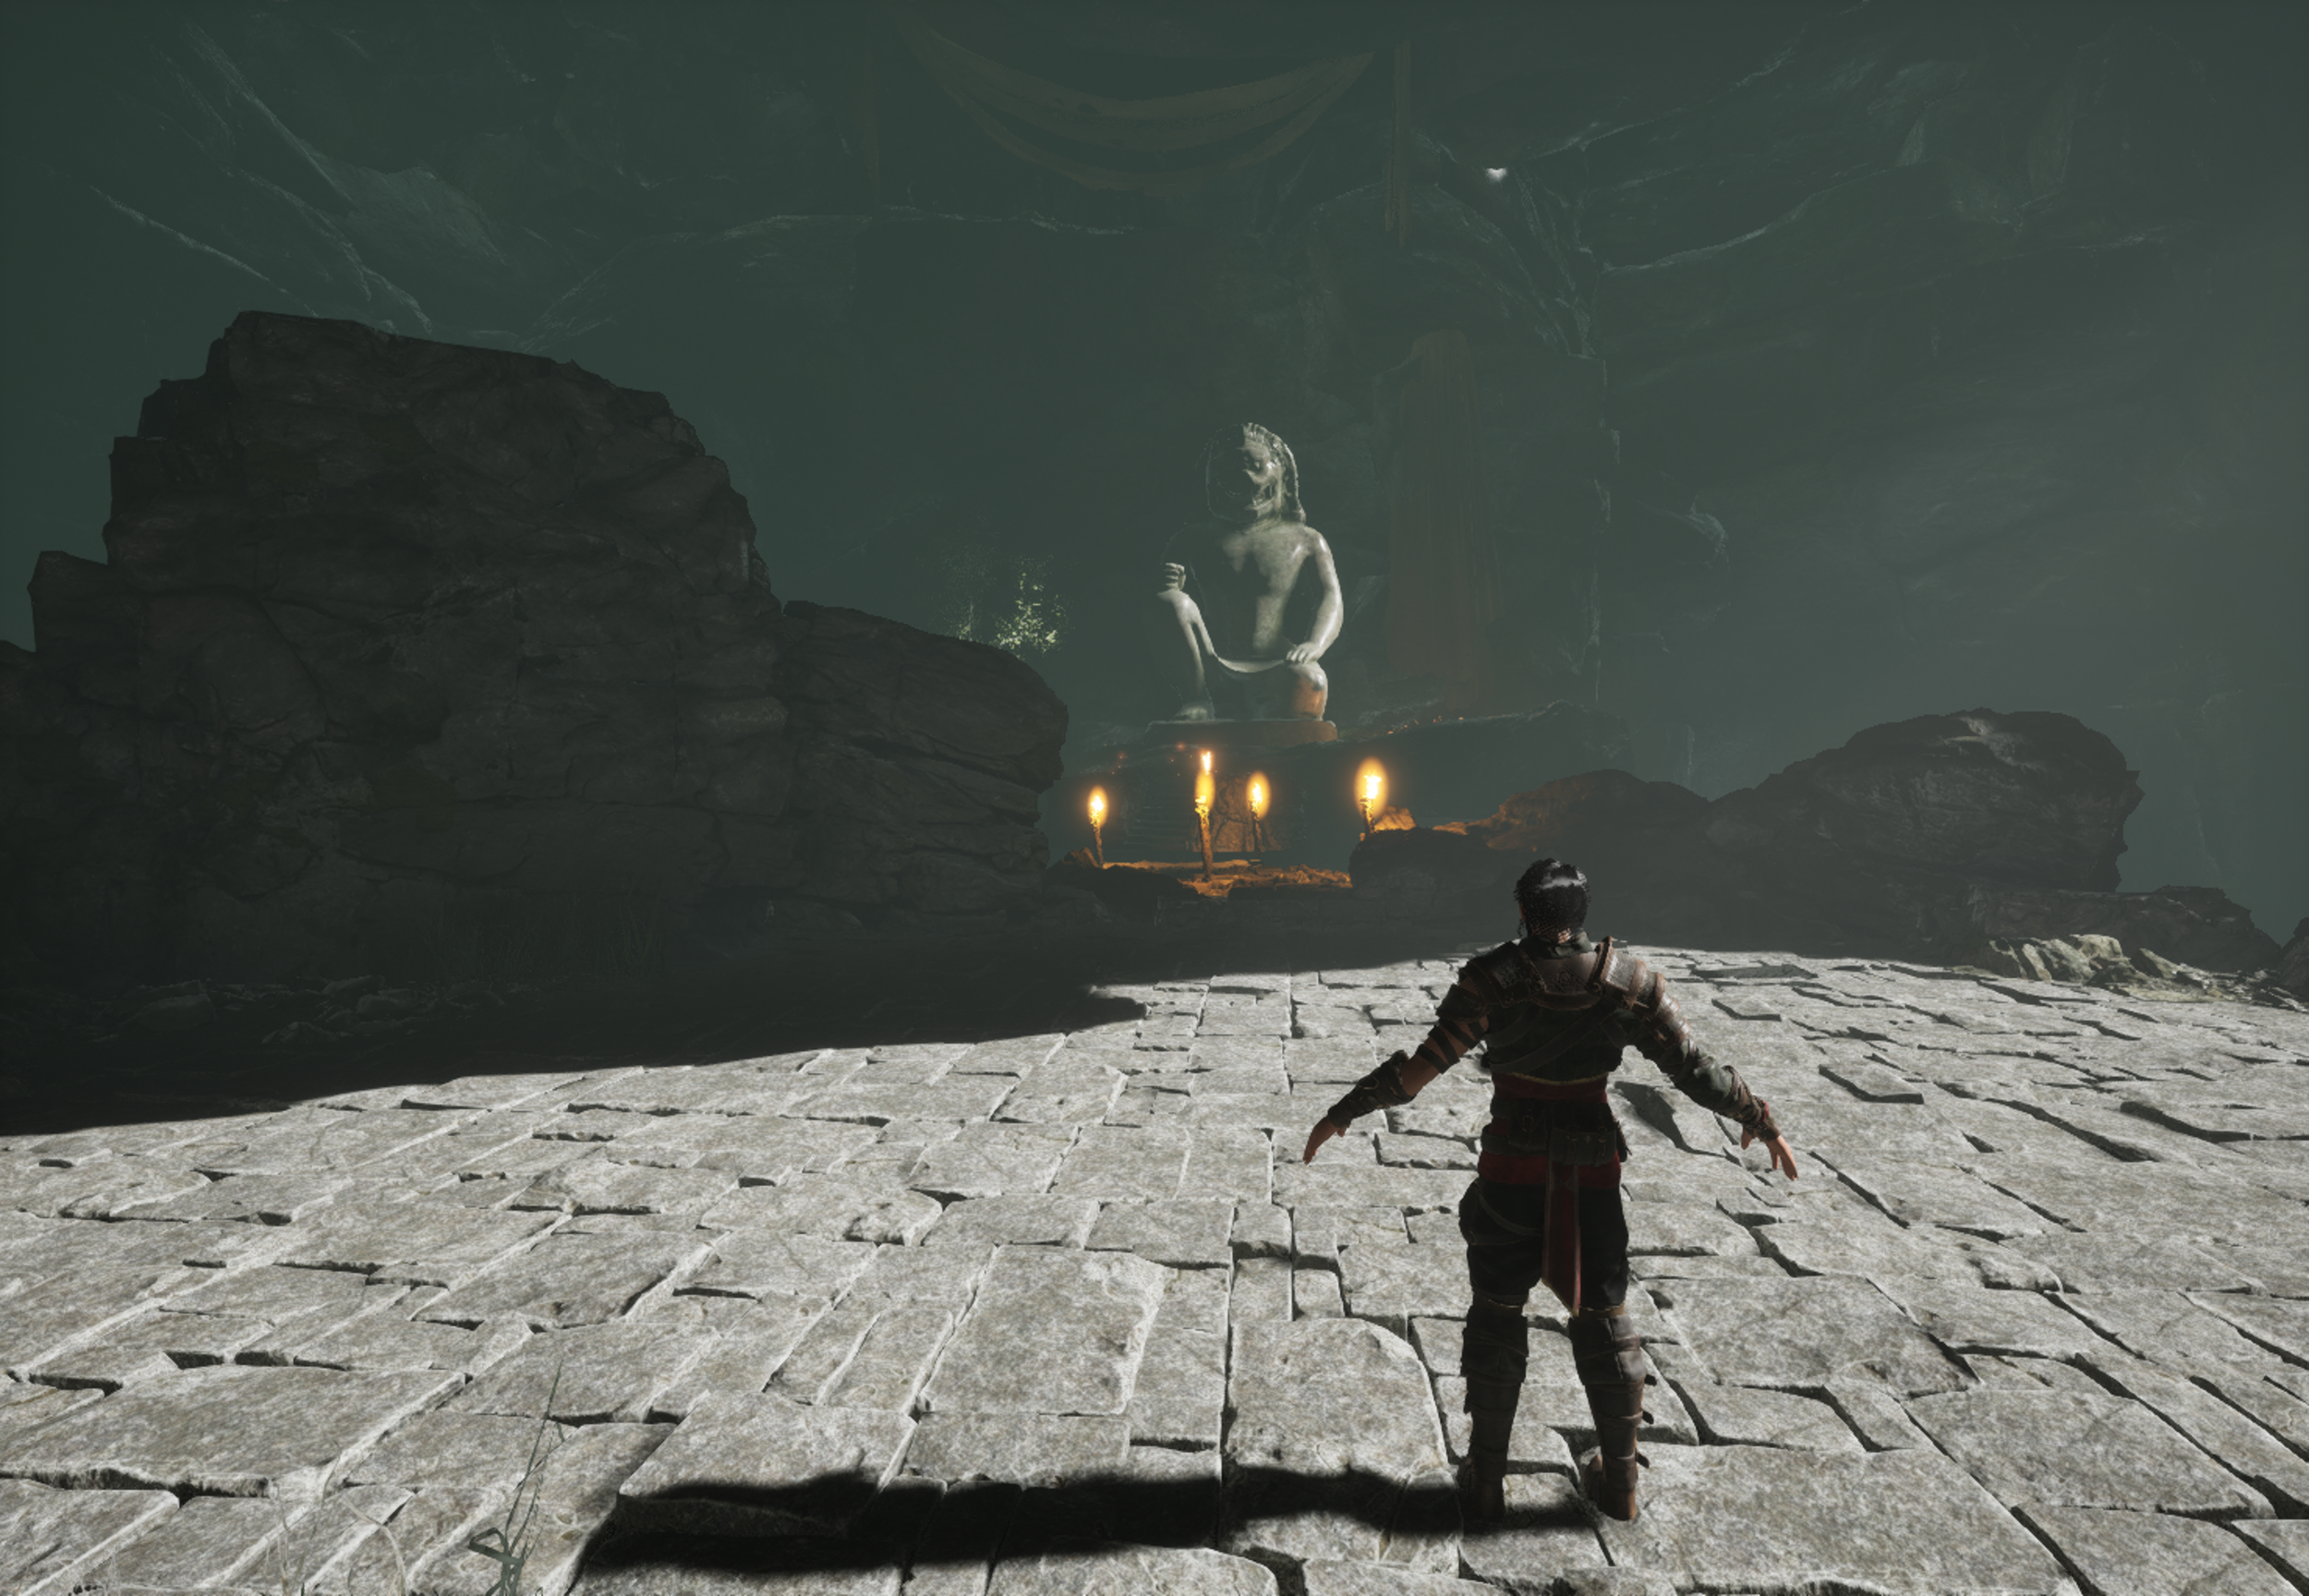
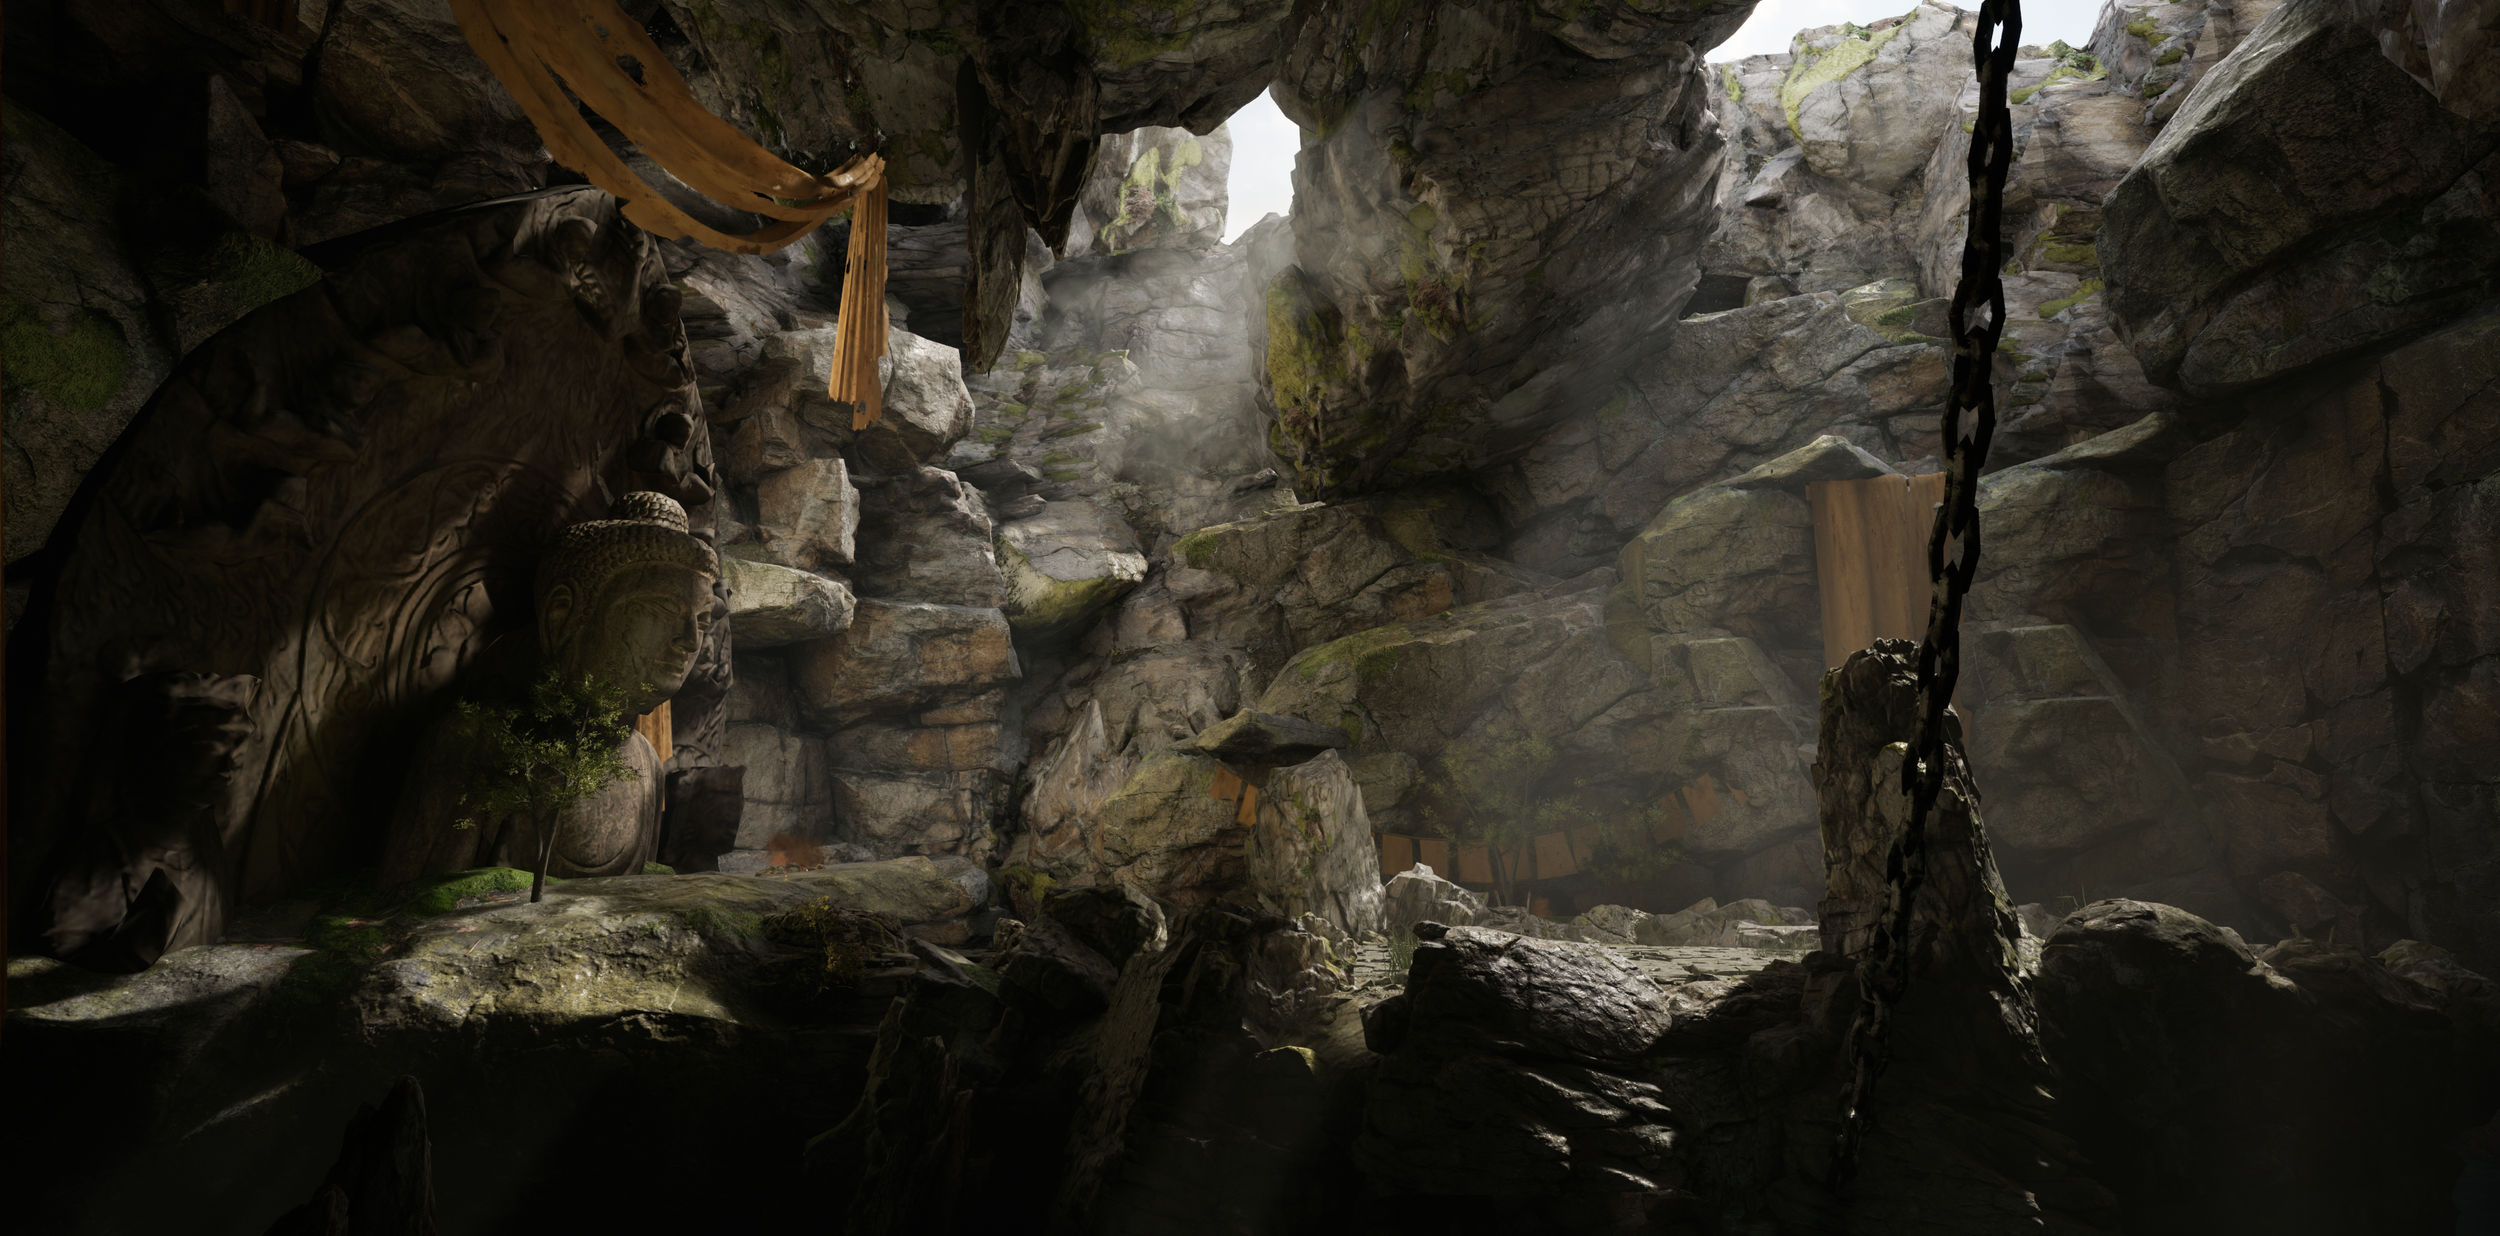
I developed this environment using Unreal Engine for the Background Music Synchronization System demo. The 3D assets were sourced from the marketplace, and I customized certain materials to introduce a more varied appearance to both the battleground and the adjacent rocks.
Time spent: one week
Design Idea:
As we are featuring Japanese samurais as characters in our demo, and our sound design and music composition are tailored to that style, I opted to craft a battle environment imbued with a mysterious and solemn atmosphere, enriched with a subtle touch of Asian culture.
Inspired by the visual aesthetics of Blade Runner and Dune, where the stark contrast between colossal structures and diminutive humans caught my attention, I chose to incorporate a massive statue to achieve a similar effect. Since the existing statue lacked the desired sophistication, I am considering creating a new one to complement this aspect of the scene.
In an effort to produce a captivating light shaft, I experimented with adjusting the parameters of volumetric fog and directional light. However, I ultimately chose to reduce the fog's intensity towards the end. This decision was made to enhance clarity in the surroundings, allowing players to better perceive directions during combat scenarios.
Cinematic sequences
High resolution screenshots from Unreal Engine
Iteration:
I was aiming for a standout god-ray effect in this setting, but cranking up the exponential fog and directional light ended up making everything in the cavern look too blurry. I experimented with different options like the spotlight, emissive board, and easy fog, and it turned out that the most effective solution for creating the god ray I wanted was to dial down the fog intensity and place a god ray particle.
The previous version

3D Character
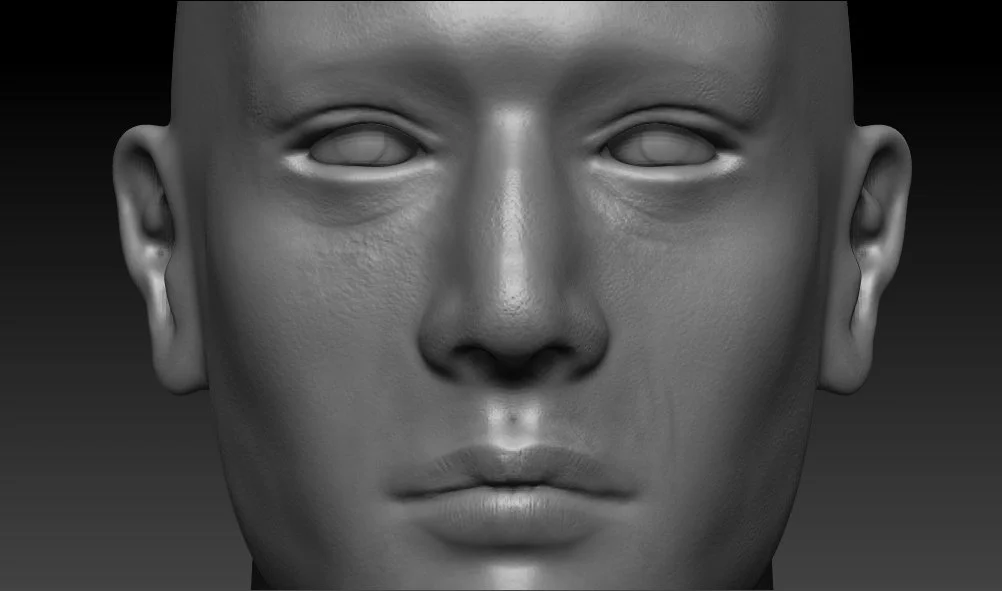
Man’s Portrait (WIP)
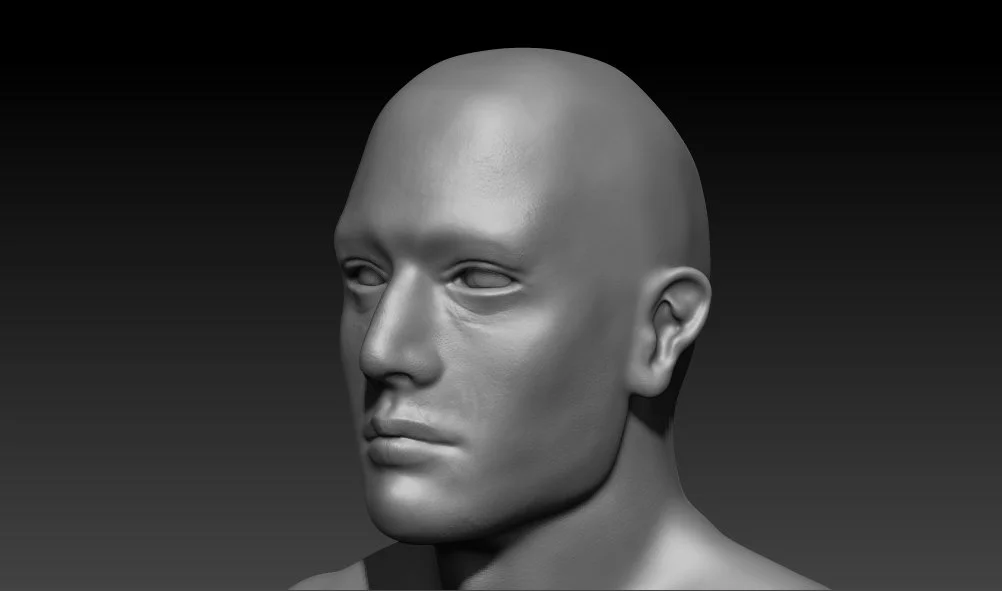
This is my latest hyper-realistic character project (in progress). I started sculpting in ZBrush, adding more skin details using the skin brushes. Then I hopped over to Substance Painter to create different materials and finally rendered it in Arnold.
Time spent: one month
Grooming:
For the hair, eyebrows and lashes, I was debating between using hair cards and XGen grooming and chose to go with the latter eventually because I wanted more control over the details like different hair lengths and those stray, flyaway strands.
I even created a separate description just for baby hairs to add some extra randomness to the hair on the forehead.
Playing with XGen was a fun experience especially when you layer the clumps, coils and noise in the modifier sections and see how the hair came to life.
Basic Workflow:
Sculpted in ZBrush
Retypologized in Maya
Increased the subdivision level on the low-poly model and project the details of the high-poly model
Bake high-poly to low-poly in Substance Painter and textured
Created grooming using XGen in Maya and did the lookdev in Arnold
In this project, I used the typical workflow where I baked a high poly model to a low poly one. However, I am also exploring another workflow where I sculpt more details through HD Geometry export normal maps directly from ZBrush, and then bake the curvature map based on the normal map. This will be the topic I am exploring next.
Sculpted model in ZBrush
Texture:
When it comes to texturing, I played a lot with the stencils and stickers this time. I added many paint and fill layers under the black mask to create redness, sun damage, and pores. In order to randomize and create an uneven skin color, I added up multiple layers with various degrees of opacity.
For the iris, I first created the pattern in Photoshop, adjusted the level, and then used it as a stencil to paint over the base color I already made.
Material breakdown in Substance Painter
XGen primitive guides
3D Environment
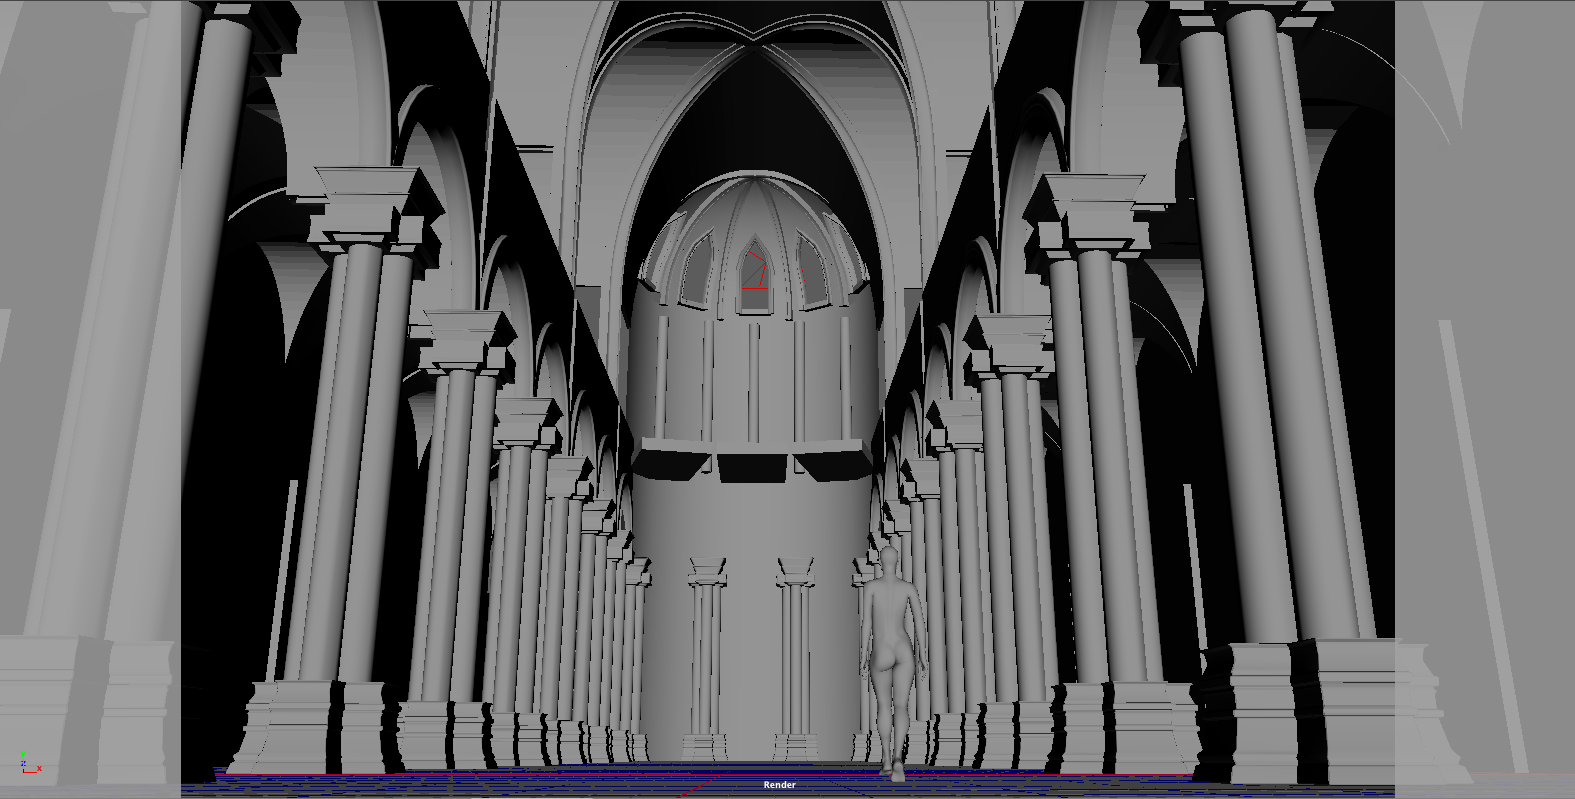
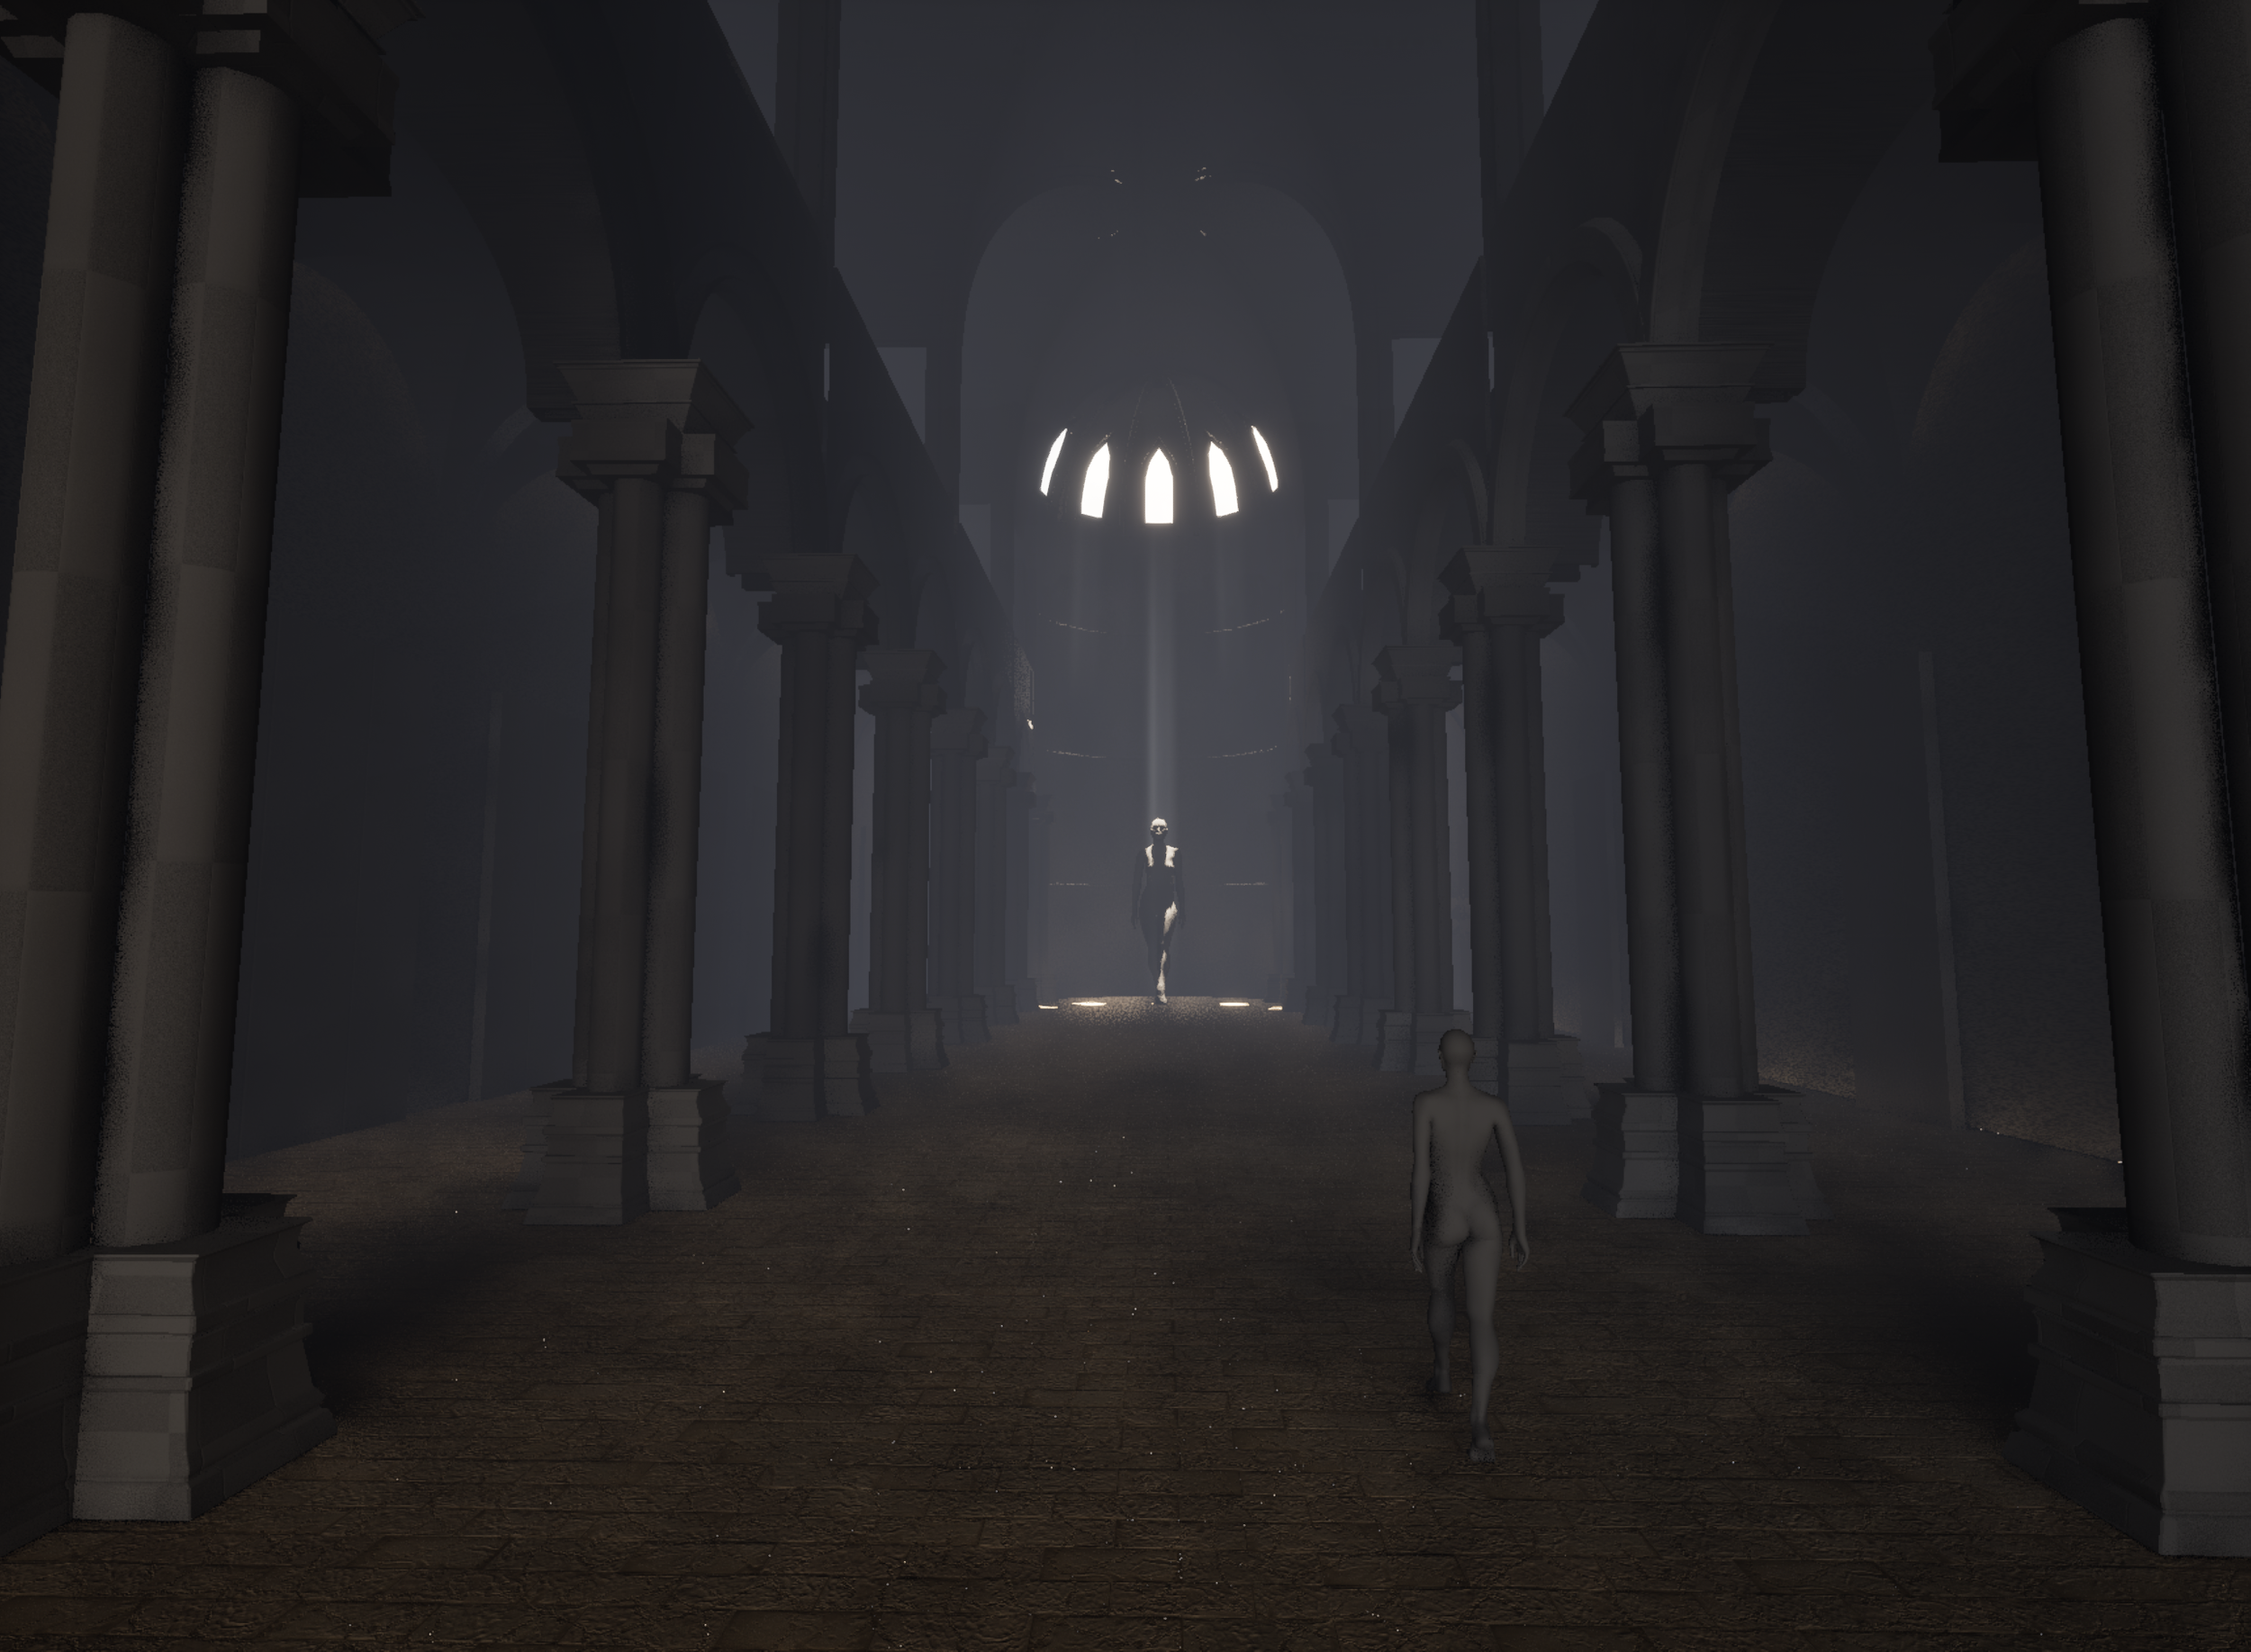
The Chapel (WIP)
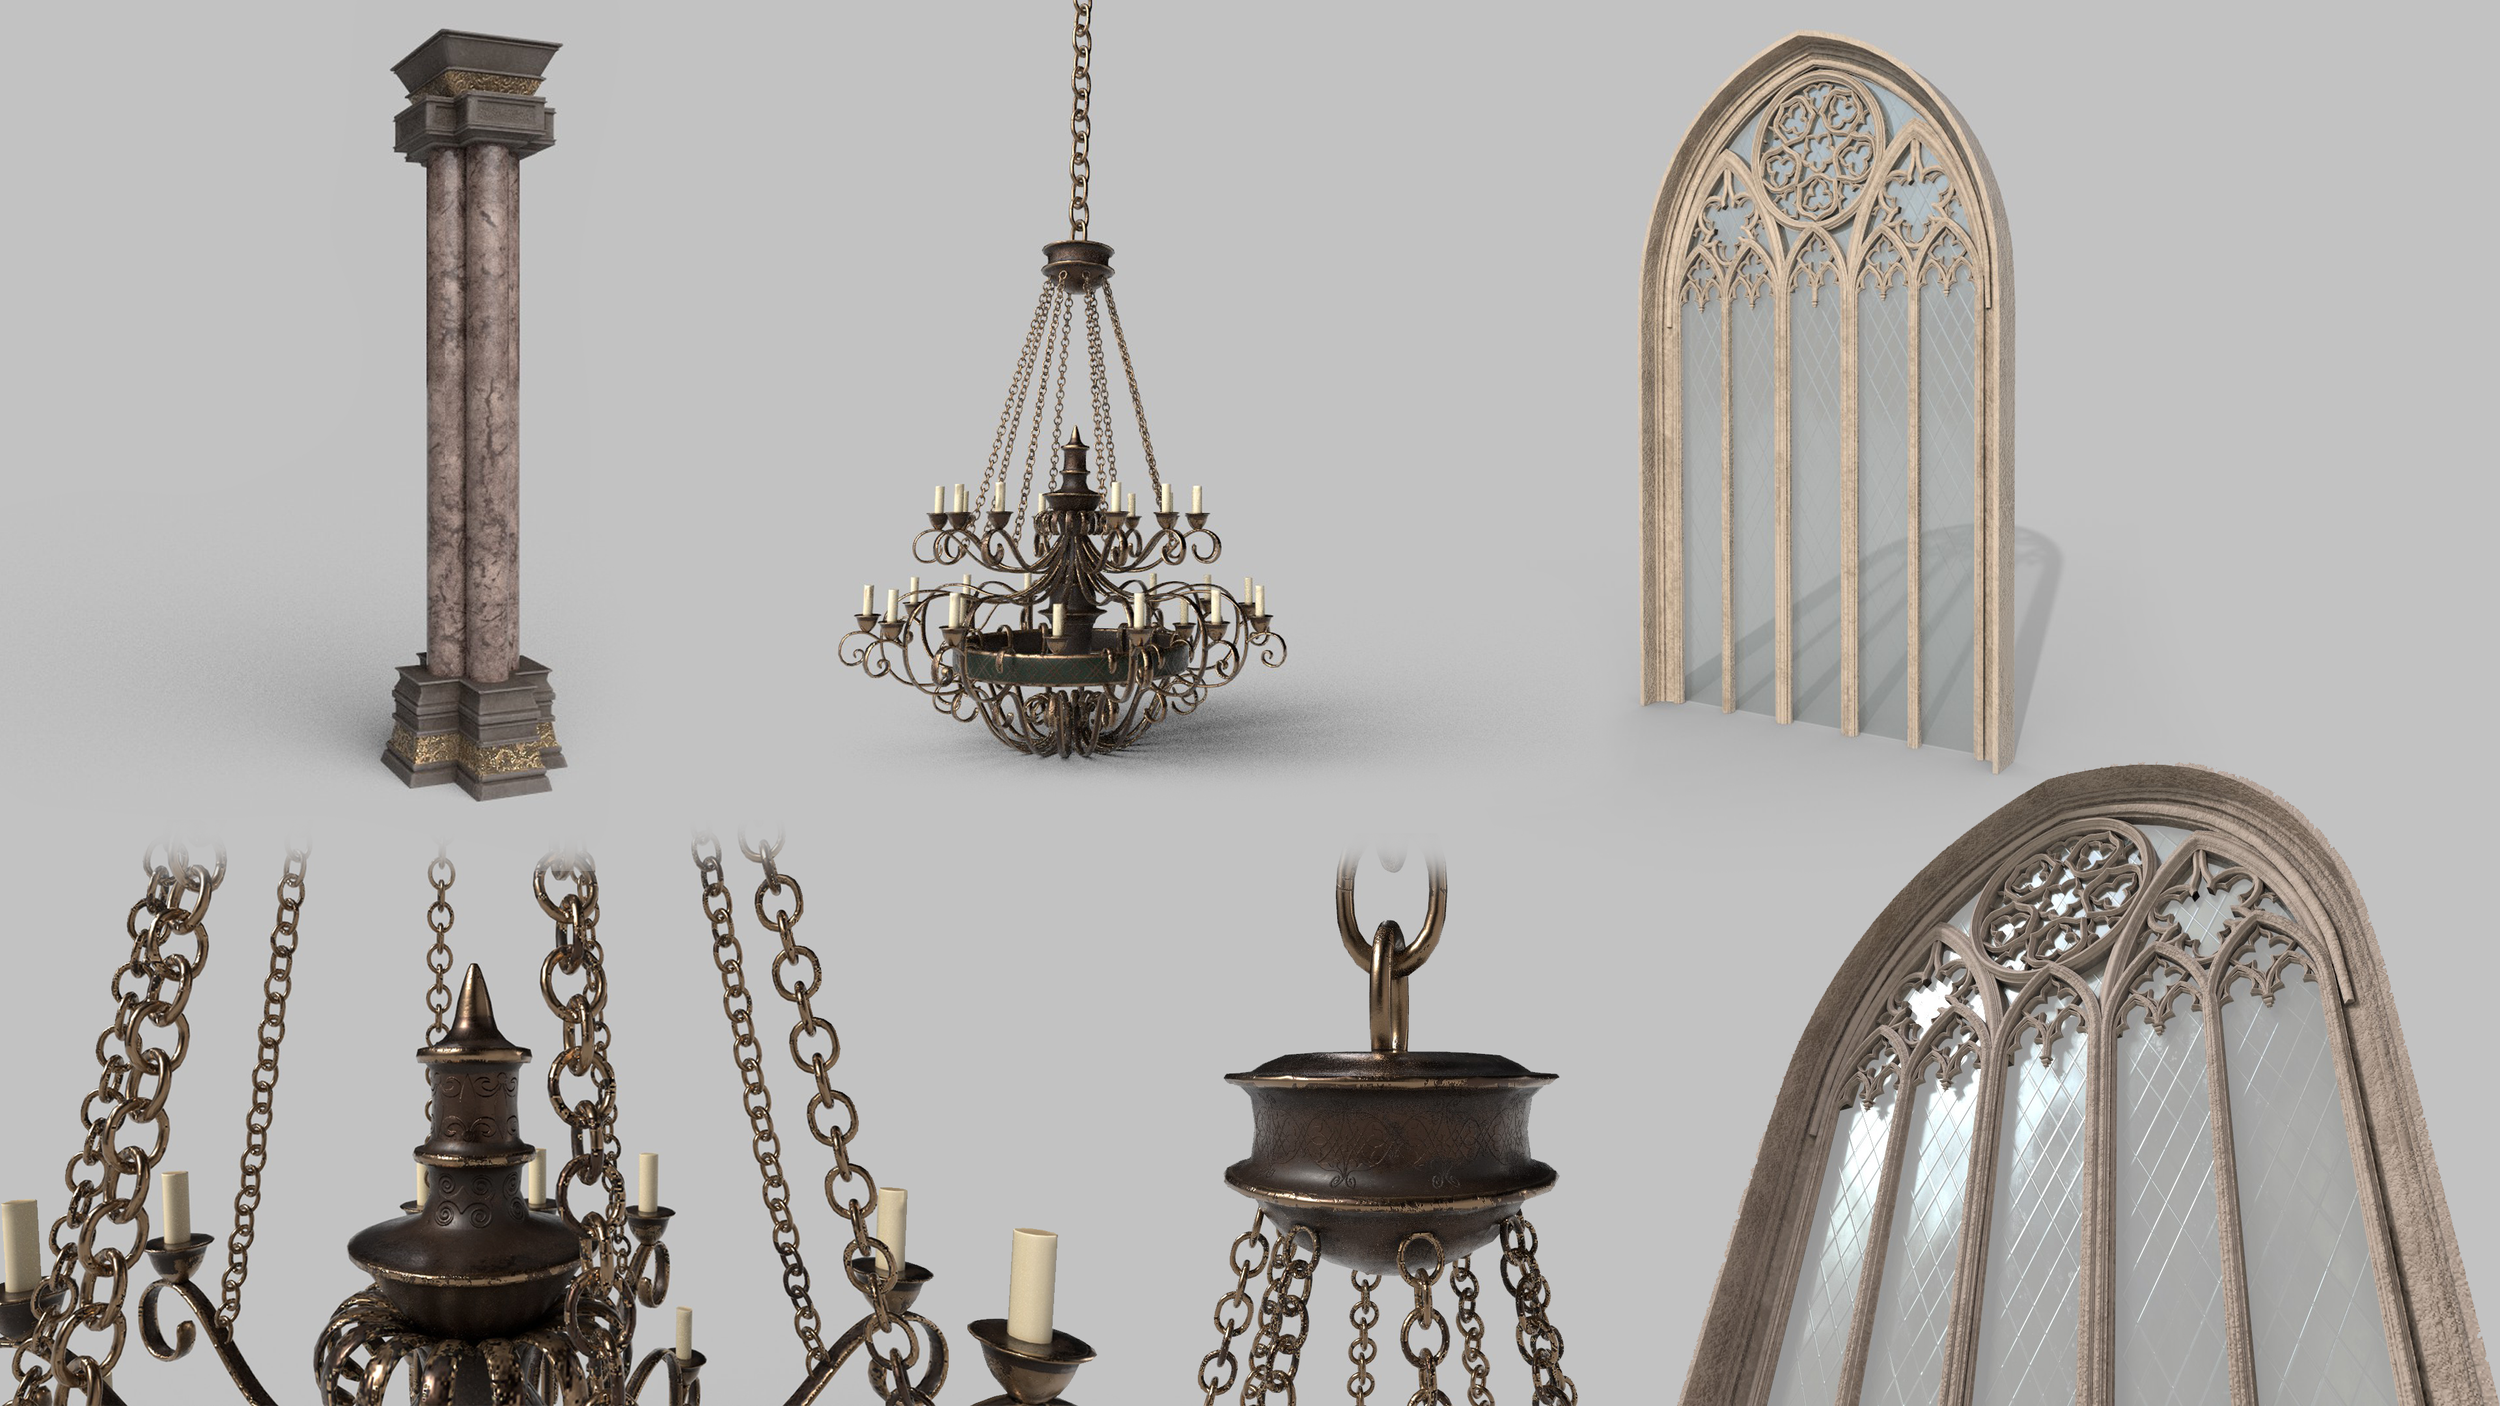
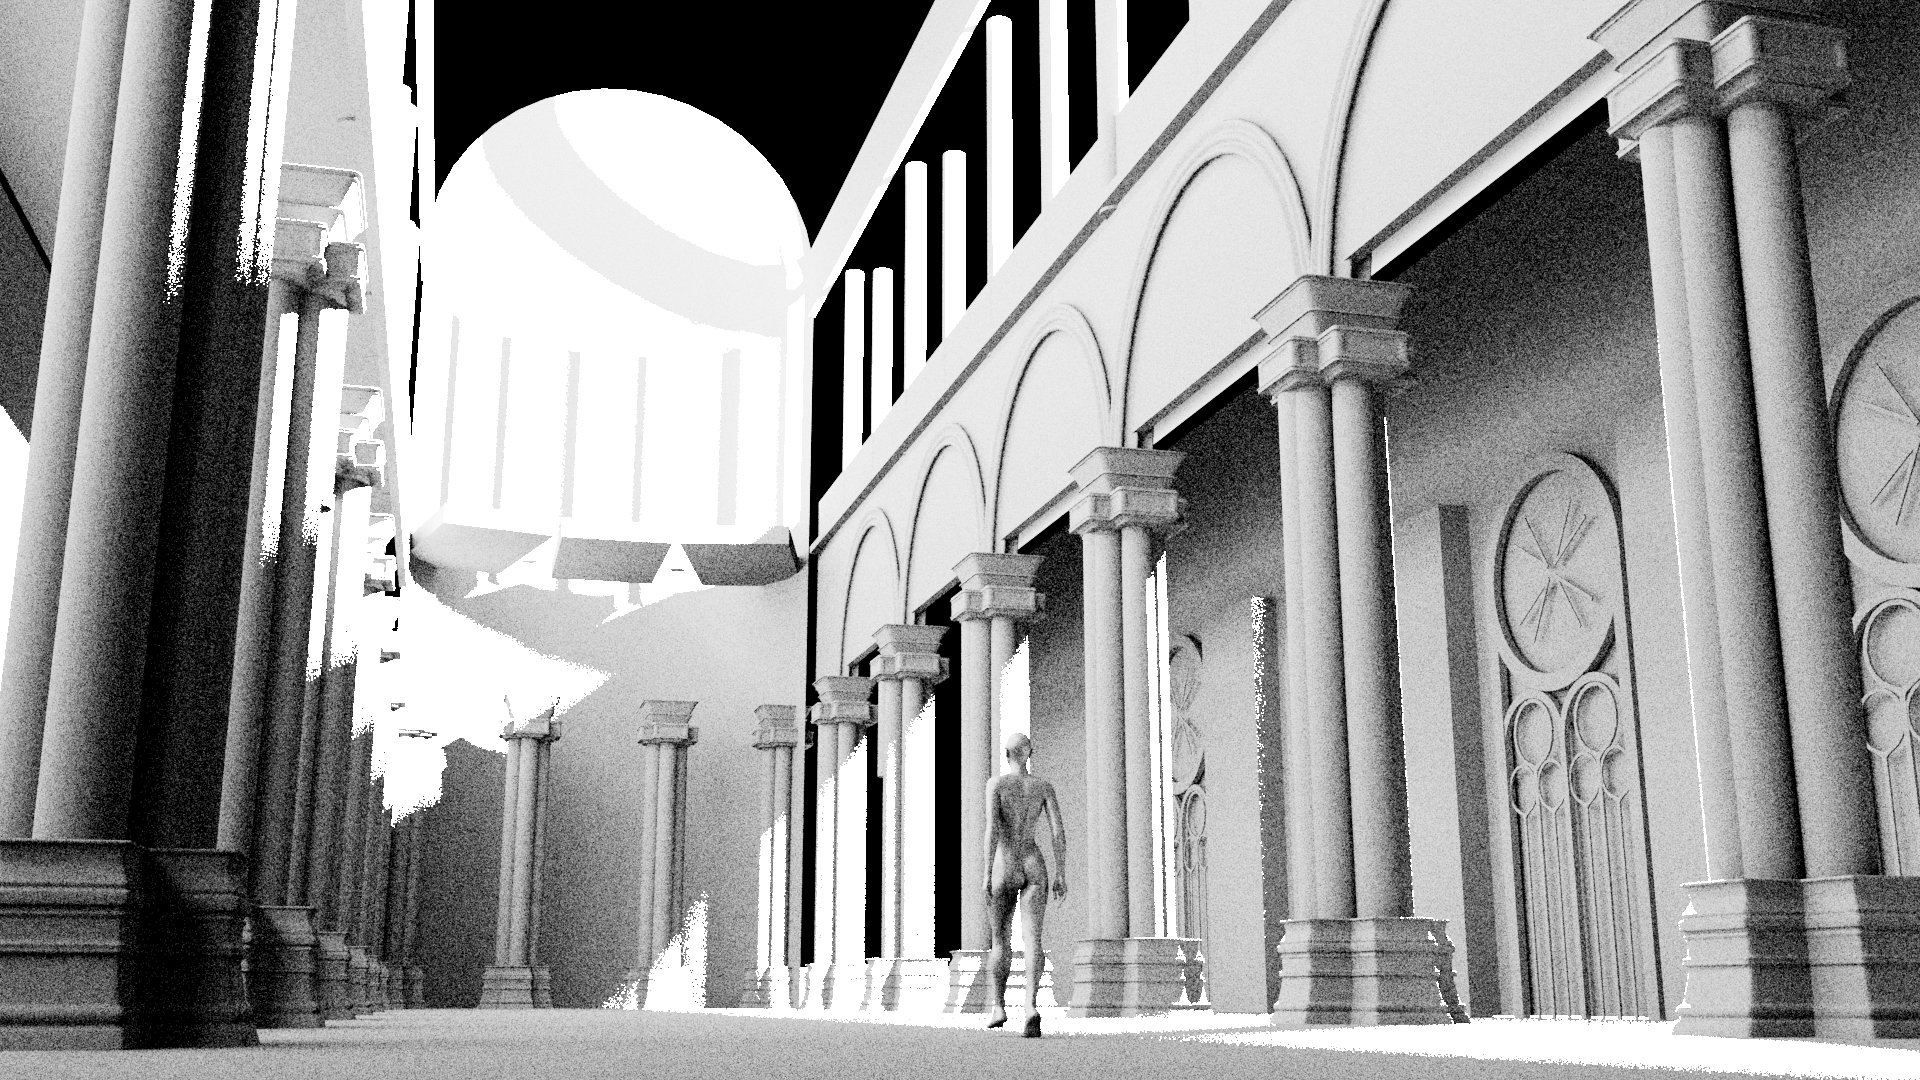
This is an ongoing personal project in which I developed the environment from scratch from blockouts to assets and texture creation. I also used this opportunity to learn to create modular assets and create texture using Substance Designer.
Time spent: one month
Blockouts in Maya
Lighting Testing in UE5
Some assets
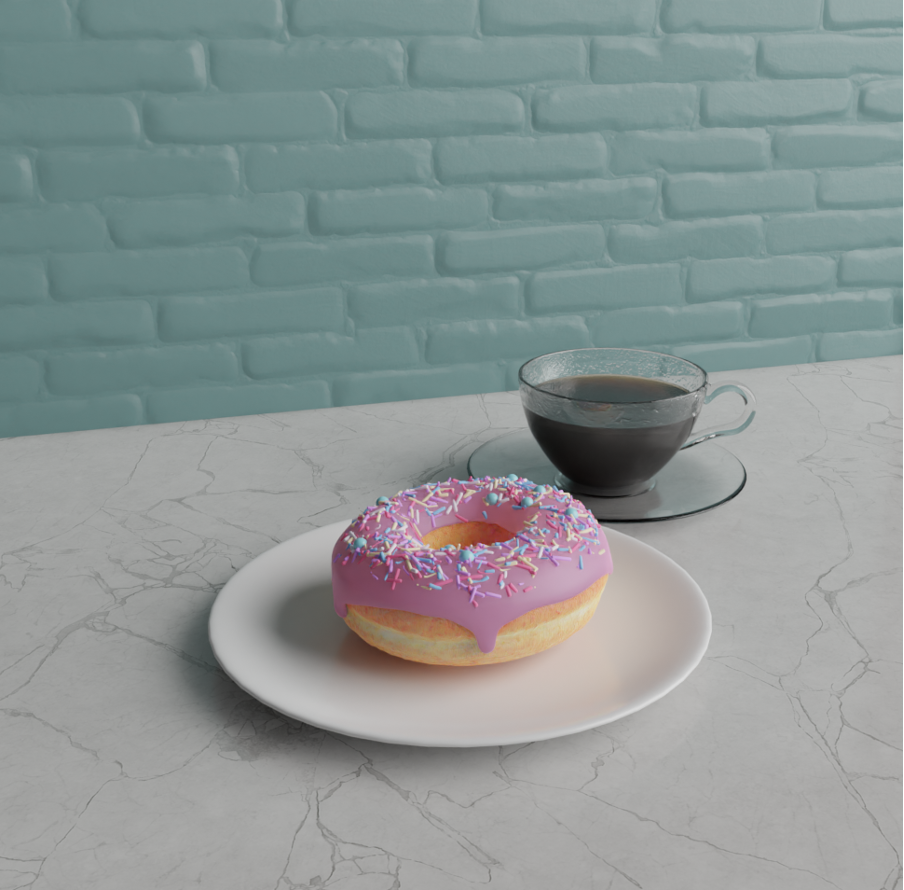
Donut and Coffee
Description: This is a personal 3D modeling project learned through Blender 2.8 Beginner Tutorial.
Software used: Blender
Jellyfish
Description: This is a simple animation of a jellyfish I did for our game, Fantasy Realm.
Software used: Blender
